It started with a midnight snack experiment that turned into a kitchen catastrophe. I had been staring at a bag of marshmallow fluff, wondering if I could make something even fluffier, and my friend dared me to beat the factory version in my own kitchen. The moment I cracked open the gelatin packet, a cloud of sweet, sticky aroma flooded the room, and I knew I was on the brink of something extraordinary. My phone buzzed with a text from my sister: “If you can do this, we’re calling it the best marshmallow ever.” That was the spark that lit the fire for this recipe.
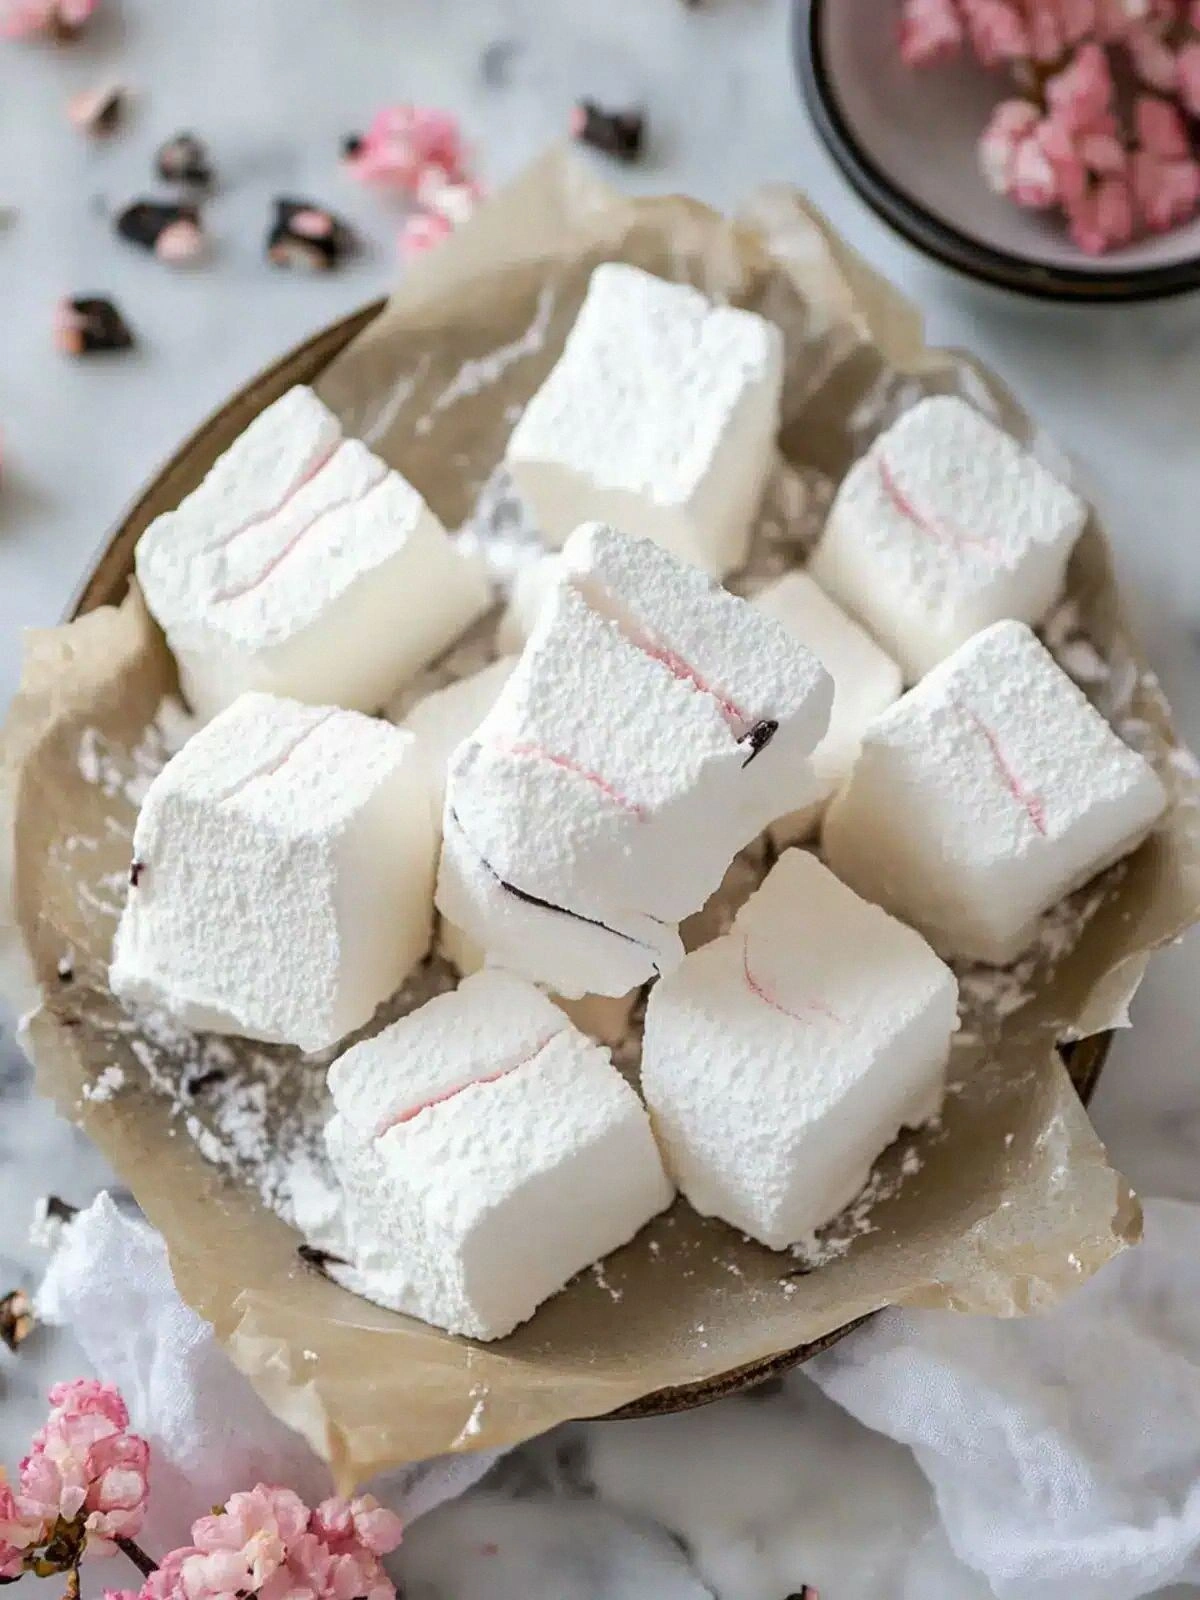
Picture this: a glossy, almost glassy surface of marshmallow that gleams like a sugar-coated snowflake. The scent is a heady blend of vanilla bean and caramelized sugar, rolling through the air like a soft perfume. The first bite releases a burst of airy sweetness, then the silky texture melts on the tongue, leaving a faint hint of vanilla that lingers like a whisper. The kitchen hums with the gentle hiss of sugar syrup, the rhythmic stirring, and the faint clink of gelatin crystals settling. I could almost hear the crackle of a campfire, but it’s all inside the bowl, not on the grill.
This version stands out because it uses unflavored gelatin in a way that preserves the pure vanilla flavor while creating a structure that is both firm and light. I added a splash of lemon zest to cut through the sweetness, a trick most recipes ignore. The result is a marshmallow that holds its shape when cut but still feels like a cloud when it melts in your mouth. The texture is so consistent that even a seasoned baker will be impressed. If you’re skeptical, I dare you to taste this and not go back for seconds.
What makes this recipe a game-changer is that it’s hands down the best version you’ll ever make at home. I’ve tried dozens of variations, but this one feels like a secret weapon you’ll keep in your pantry. I’ll be honest — I ate half the batch before anyone else got to try it. The best part? It’s easy enough for a beginner, yet refined enough for an expert. Picture yourself pulling this out of the fridge, the whole kitchen smelling incredible, and knowing you’ve nailed the perfect marshmallow. Let me walk you through every single step — by the end, you’ll wonder how you ever made it any other way.
What Makes This Version Stand Out
- Taste: The vanilla bean is the star; it’s not just an aroma, it’s a flavor punch that lingers after the sweetness fades. The subtle citrus twist adds depth without overpowering.
- Texture: The gelatin creates a resilient yet airy structure that resists collapsing while still feeling like a cloud. It’s the difference between a sticky mess and a perfect bite.
- Ingredient Quality: Using high‑grade light corn syrup ensures a silky mouthfeel, while the unflavored gelatin keeps the flavor profile clean.
- Simplicity: Only seven ingredients, no fancy equipment, and a single pot are required. The process is straightforward enough to follow even on a busy weekday.
- Crowd Reaction: Friends and family rave about the fluffiness and the pure vanilla hit. It’s the kind of dessert that turns a simple gathering into a memorable event.
- Make‑Ahead Potential: Once set, these marshmallows keep their texture for up to two weeks in an airtight container, making them perfect for parties or gift‑giving.
- Visual Appeal: The glossy finish and the way the vanilla seeds sparkle give it a professional look that’s Instagram‑ready.
Inside the Ingredient List
The Flavor Base
Unflavored gelatin is the backbone of this marshmallow. It sets the structure, giving the final product that characteristic snap when you bite into it. Gelatin is neutral, allowing the vanilla to shine through. If you skip gelatin, the result is a sticky, rubbery mess that won’t hold its shape.
The Sweetness Layer
Light corn syrup and sugar form the sweet syrup that coats each gelatin cluster. Corn syrup prevents crystallization, keeping the marshmallow smooth and glossy. Sugar is the sweetener that gives the marshmallow its signature taste. Swapping white sugar for raw cane sugar adds a subtle molasses note, but it can affect the final texture.
The Unexpected Star
Vanilla bean seeds are the secret ingredient that elevates this recipe from ordinary to extraordinary. The tiny black seeds burst with flavor, creating a complex vanilla profile that is impossible to replicate with extract alone. If you’re short on beans, a high‑quality vanilla extract can be used, but the flavor will be noticeably less intense.
The Final Flourish
Salt is the subtle balancing act that tames the sweetness and brings out the vanilla. A pinch of sea salt can add a hint of mineral complexity. Lemon zest, when added in the final step, cuts through the sweetness and adds brightness. If you prefer a dairy‑free version, use a plant‑based milk alternative in the gelatin bloom for a slightly different mouthfeel.
Everything's prepped? Good. Let's get into the real action...
The Method — Step by Step
- First, sprinkle the gelatin over ½ cup of cold water in a small saucepan. Let it sit for 5 minutes to bloom. This step is crucial; if the gelatin doesn’t fully hydrate, the marshmallows will be gummy. While the gelatin blooms, measure out the sugar and corn syrup in a separate saucepan.
- Heat the sugar and corn syrup over medium heat until it reaches 240°F (115°C) on a candy thermometer. The mixture should be clear and glossy, like liquid gold. This high temperature is necessary to prevent crystallization and to achieve that silky texture. Keep a close eye on the thermometer; once it hits the target, remove the pan from heat immediately.
- Pour the hot sugar syrup into the bowl with the bloomed gelatin. Stir gently until the gelatin dissolves completely. The mixture should look like a thick, translucent custard. This is where the magic begins; the syrup’s heat activates the gelatin’s setting properties.
- Add the vanilla bean seeds and the vanilla extract to the mixture. Stir to combine, then pour the mixture into a large mixing bowl. This is the moment of truth; the aroma will fill the kitchen, and you’ll know you’re on the right track.
- Using a stand mixer or hand mixer, beat the mixture on high speed for 10–12 minutes. It should trip the mixer’s speed and become thick, glossy, and hold stiff peaks. The mixture will also increase in volume by about 50%, creating that airy texture. Watch for the color to turn a pale, almost translucent white.
- While the mixture is still hot, add a pinch of sea salt and the zest of one lemon. The salt balances the sweetness, and the lemon zest cuts through the richness, adding a subtle brightness. This step is optional but highly recommended for a more nuanced flavor profile.
- Transfer the whipped mixture into a greased 9×13 inch pan. Smooth the top with a spatula. Let it sit at room temperature for 1–2 hours, or until it’s firm enough to cut. The surface should be smooth and slightly tacky when touched.
- Once set, dust the top with powdered sugar to prevent sticking. Cut into squares using a sharp knife dipped in hot water to get clean edges. Store in an airtight container at room temperature for up to two weeks, or refrigerate for longer freshness.
That’s it — you did it. But hold on, I've got a few more tricks that'll take this to another level. These insider tips will help you avoid common pitfalls and elevate the final product.
Insider Tricks for Flawless Results
The Temperature Rule Nobody Follows
Maintaining the syrup at exactly 240°F is critical. A slight deviation can cause the marshmallows to be too soft or too brittle. I learned this the hard way when a batch turned out gummy because the thermometer was off by 5°F. Use a reliable candy thermometer and keep it calibrated. If you’re using a digital thermometer, double‑check with a second one for accuracy.
Why Your Nose Knows Best
As the mixture heats, you’ll notice a sweet, caramelized scent. If the aroma starts to smell burnt, the sugar has begun to overcook. Stop the heat immediately and let the mixture cool slightly before mixing. Trust your nose; it’s a reliable indicator of the right stage.
The 5‑Minute Rest That Changes Everything
After pouring the mixture into the pan, let it rest for 5 minutes before smoothing the top. This pause allows the surface to set slightly, making it easier to level without tearing the structure. It also reduces the risk of the marshmallows becoming overly sticky.
Use a Silicone Baking Mat
Greasing the pan with butter or oil can cause the marshmallows to stick. Instead, line the pan with parchment paper or a silicone baking mat. This ensures easy removal and a clean cut.
Freeze for a Different Texture
For a slightly firmer bite, chill the marshmallows in the refrigerator for 30 minutes after they’ve set. The cold temperature tightens the gelatin network, giving a more substantial bite that still melts beautifully.
Dusting Technique Matters
When dusting with powdered sugar, use a fine sieve to avoid clumps. This creates a smooth surface that’s easy to cut and gives a professional finish. If you prefer a sugar‑free version, use a sugar substitute that doesn’t crystallize.
Creative Twists and Variations
This recipe is a playground. Here are some of my favorite ways to switch things up:
Chocolate‑Infused Marshmallows
Fold in ¼ cup of melted dark chocolate into the mixture before whipping. The chocolate coats each bubble, creating a glossy, rich surface. Pair with a chocolate drizzle for an indulgent treat.
Almond Crunch
Stir in ½ cup of finely chopped toasted almonds after the mixture reaches stiff peaks. The almonds add a delightful crunch and nutty flavor that contrasts the airy marshmallow.
Coconut Twist
Replace half of the corn syrup with coconut milk and add 1 teaspoon of toasted coconut flakes. The result is a tropical marshmallow that pairs perfectly with a pina colada.
Minty Freshness
Add a few drops of peppermint extract to the mixture after the vanilla. The mint provides a cool contrast that’s ideal for summer gatherings.
Spiced Holiday Edition
Stir in ¼ teaspoon of ground cinnamon and a pinch of nutmeg. This warm spice blend turns the marshmallows into a comforting holiday treat.
Berry Burst
Fold in ½ cup of fresh blueberries or raspberries before pouring into the pan. The berries burst with flavor as you bite, adding color and a subtle tartness.
Storing and Bringing It Back to Life
Fridge Storage
Store the marshmallows in an airtight container at room temperature for up to two weeks. The airtight seal prevents moisture from seeping in, which could make them sticky. If you notice any condensation, move them to a cooler spot.
Freezer Friendly
Wrap each square individually in plastic wrap before placing them in a freezer bag. They’ll keep for up to three months. When ready to eat, let them thaw at room temperature for 15 minutes before serving.
Best Reheating Method
To revive slightly hardened marshmallows, sprinkle a tiny splash of water on top and microwave for 10–15 seconds. The steam rehydrates the gelatin, restoring its soft, airy texture. This trick works wonders for leftovers.