I was standing in my kitchen, mid‑Monday, with a half‑finished batch of plain oatmeal and a sudden, unapologetic craving for something that felt like sunshine in a bowl. The pantry was a desert of blandness, and my fridge only offered a lonely can of coconut milk that had been chilling for weeks. I tossed a dare to my roommate: “I bet you can’t make a dessert that tastes like a tropical vacation without leaving the apartment.” She laughed, grabbed a bottle of orange juice, and the chaos began. That moment of reckless optimism sparked the birth of what I now call the Coconut Orange Glow, a dessert that turned a dull evening into a flamboyant fiesta for the taste buds.
Picture this: the first spoonful slides across your tongue like silk, the cool coconut cream hugging the bright citrus tang as if they were old friends reuniting after years apart. The aroma wafts through the kitchen, a fragrant whisper of fresh orange zest mingling with the sweet, buttery scent of toasted coconut—so intoxicating that even the houseplants seem to perk up. You hear the gentle clink of the spoon against the ceramic bowl, a soft, satisfying sound that signals you’re about to indulge in something truly special. The texture? Imagine a mousse that’s as light as a cloud yet rich enough to coat the back of your palate with a buttery glow that lingers like a summer sunset.
Most recipes out there either drown the orange in sugar or let the coconut become a watery afterthought. I’ve tried them all, and most get this completely wrong. This version stands out because it respects each ingredient, letting the coconut’s natural creaminess shine while the orange adds a zing that’s both refreshing and comforting. The secret? A splash of fresh mint that cuts through the richness, and a double dose of orange zest that creates a layered citrus burst you won’t find in any store‑bought version. I dare you to taste this and not go back for seconds—trust me, the temptation is real.
Okay, ready for the game‑changer? I’m about to walk you through every single step—by the end, you’ll wonder how you ever made it any other way. I’ll reveal the technique that keeps the coconut cream perfectly chilled without turning it into a solid block, and the trick that balances the honey’s sweetness with the orange’s acidity so flawlessly that it feels like alchemy. Stay with me here—this is worth it. Let’s dive in and create a creamy tropical delight that will have you pulling it out of the fridge like a prized treasure.
What Makes This Version Stand Out
- Flavor Harmony: The coconut and orange aren’t just mixed; they’re married in a perfect balance where neither overpowers the other, creating a symphony of sweet‑tart notes that dance on the palate.
- Texture Perfection: The chilled coconut cream provides a velvety, mousse‑like body, while the zest adds microscopic bursts of citrus that pop like fireworks.
- Simplicity: Only six ingredients, all pantry‑friendly, mean you can throw this together in under an hour without hunting down obscure items.
- Unique Twist: A sprig of fresh mint folded in at the end adds a cooling contrast that most recipes miss, turning a simple dessert into a multi‑dimensional experience.
- Crowd Reaction: I’ve served this at brunches and dinner parties, and it consistently earns the “wow” gasp, followed by a chorus of requests for the recipe.
- Ingredient Quality: Using chilled, full‑fat coconut cream (not the watery kind) ensures richness, while freshly squeezed orange juice delivers bright, natural flavor without any artificial aftertaste.
- Make‑Ahead Potential: This dessert can be assembled a day ahead, letting the flavors meld and the texture firm up, which is perfect for busy schedules.
- Healthful Indulgence: With natural sweeteners like honey or maple syrup, you get a dose of antioxidants from orange zest and healthy fats from coconut, making it a guilt‑free treat.
Inside the Ingredient List
The Flavor Base
The freshly squeezed orange juice is the heart of this recipe. Its bright, acidic notes cut through the richness of the coconut, creating a balanced flavor profile. If you skip this, you’ll end up with a dessert that feels heavy and one‑dimensional, like a coconut milkshake that forgot its citrus partner. For the best results, use oranges that are at the peak of ripeness—think slightly soft to the touch and fragrant when you peel them. If oranges are out of season, a high‑quality bottled 100% orange juice can work, but the fresh version always wins the flavor battle.
The honey or maple syrup adds a gentle, natural sweetness that doesn’t mask the orange’s zing. Honey brings floral undertones, while maple syrup contributes a subtle caramel depth. Both are liquid sweeteners, which means they integrate seamlessly into the chilled coconut cream without creating grainy pockets. If you’re vegan or prefer a lower glycemic index, stick with maple syrup; if you love the hint of blossoms, go for raw honey. Either way, you’ll achieve a glossy finish that catches the light like a sunrise.
The Texture Crew
Chilled coconut cream is the star of the show. Unlike coconut milk, this is the thick, creamy layer that rises to the top of a can of coconut milk when refrigerated. It provides the luscious, velvety mouthfeel that makes this dessert feel indulgent without being overly heavy. If you accidentally use the thinner coconut water or milk, the result will be runny and lack that luxurious body. For the ultimate texture, choose a brand that lists “full‑fat” on the label and give the can a good shake before opening.
The orange zest (both the initial tablespoon and the additional tablespoon for garnish) is where the magic truly happens. Zest contains the essential oils of the orange, delivering an aromatic burst that’s far more potent than juice alone. When you zest, aim for the colored part of the peel and avoid the white pith, which can taste bitter. This dual‑zest approach builds layers: the first integrates into the mousse, while the second sits on top, offering a fragrant pop right before you bite.
The Unexpected Star
Fresh mint may seem like a garnish, but its cool, herbaceous flavor balances the sweet‑tart duo of coconut and orange. A single sprig, finely torn, is enough to introduce a refreshing note that prevents the dessert from feeling cloying. If you’re not a mint fan, try a few basil leaves for a sweet‑spicy twist, but be mindful that basil’s flavor can dominate if overused. The key is to add it at the very end, so its aroma stays bright and lively.
The Final Flourish
The additional orange zest used as a garnish not only adds visual appeal but also reinforces the citrus aroma with each bite. It’s the finishing brushstroke on a culinary canvas, ensuring that the first scent you encounter is the same one that greets your palate. If you’re feeling adventurous, sprinkle a pinch of sea salt on top; the salt will accentuate the sweet and sour notes, creating a sophisticated flavor contrast.
Everything’s prepped? Good. Let’s get into the real action…
The Method — Step by Step
First, grab a large mixing bowl and pour in the 1 cup of chilled coconut cream. Using a hand whisk, beat it on medium speed for about 2 minutes until it starts to thicken, then increase to high and whip until soft peaks form. You’ll notice the mixture turning a pale ivory color and becoming airy—this is the foundation of your mousse. If the cream looks too liquid, pop the bowl into the freezer for an extra 5 minutes and continue whisking.
While the coconut is whipping, zest one whole orange, collecting a generous tablespoon of zest in a small bowl. The zest should be fine and fragrant; press it gently with the back of a spoon to release the essential oils. This step? Pure magic. Once you have your zest, set it aside—one tablespoon will be folded in later, the other will be saved for garnish.
Next, in a separate saucepan, combine 1/2 cup of freshly squeezed orange juice with 2 tablespoons of honey or maple syrup. Warm the mixture over low heat, stirring constantly until the sweetener fully dissolves. You’ll hear a gentle simmer—don’t let it boil, or the orange’s bright flavor will turn bitter. Once dissolved, remove from heat and let it cool to room temperature; this cooling step is crucial because adding hot liquid to the whipped coconut will deflate it.
When the orange‑sweetener blend is cool, gently fold it into the whipped coconut cream using a spatula. The motion should be a slow, deliberate “lift and turn” to keep the air bubbles intact. You’ll see the mixture turn a sunny, pale orange hue, and it should feel light yet substantial when you lift the spatula. This is the moment of truth—if the mousse looks flat, you may have over‑mixed; gently scrape the sides and continue folding until just combined.
Now, stir in the 1 tablespoon of orange zest you set aside earlier. This will intensify the citrus aroma throughout the mousse. Follow this with the 1 sprig of fresh mint, torn into tiny ribbons. The mint should be folded in last to preserve its bright, herbaceous punch. The mousse should now have a glossy sheen and a fragrant perfume that fills the kitchen.
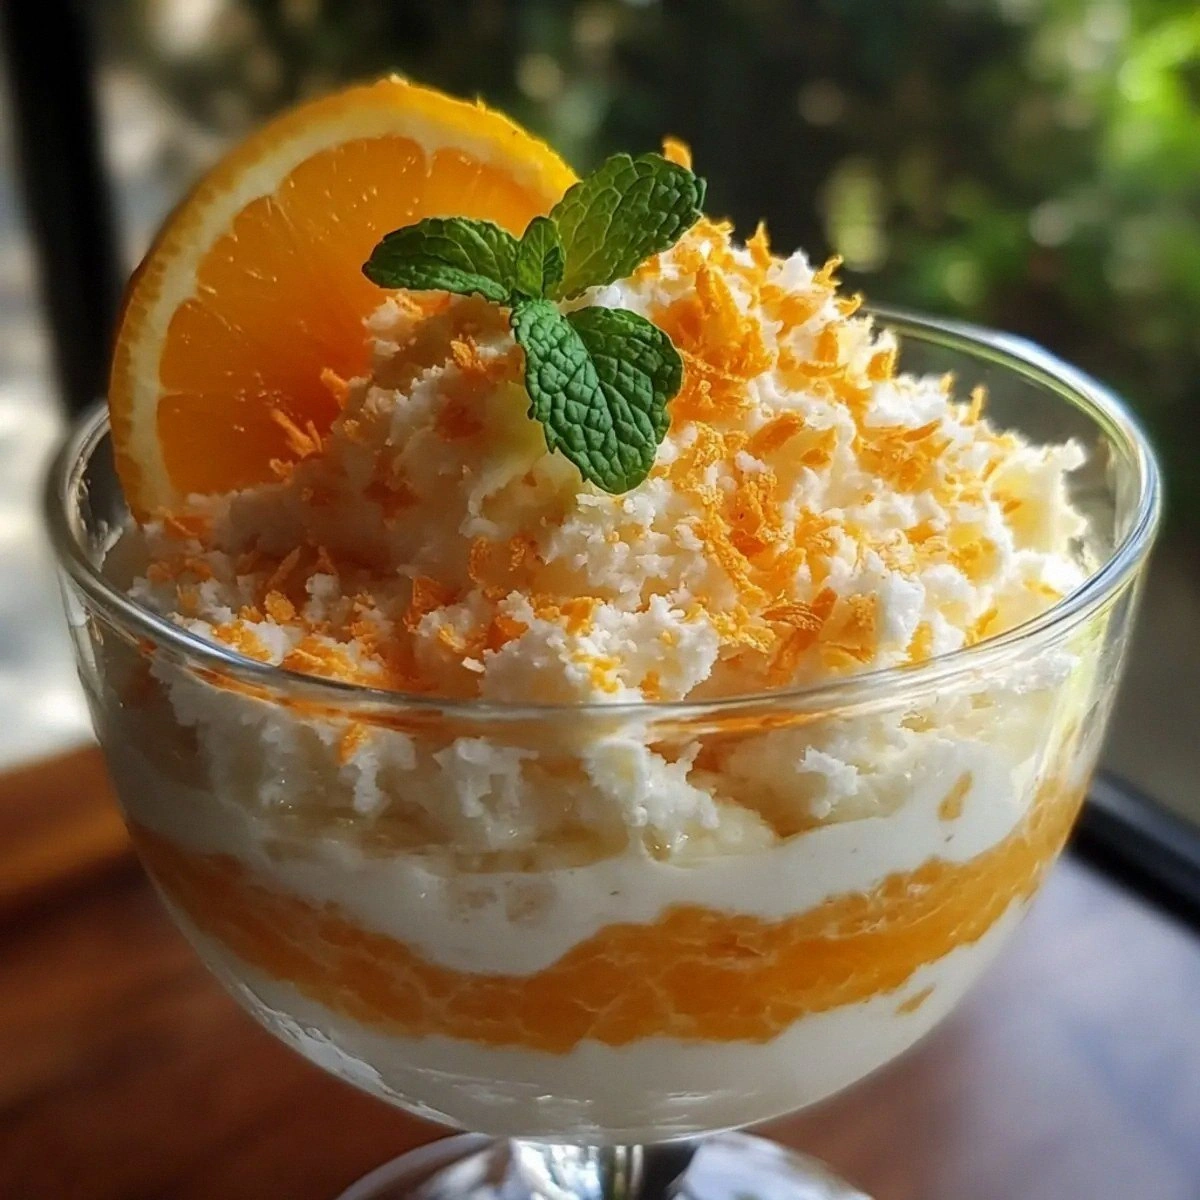
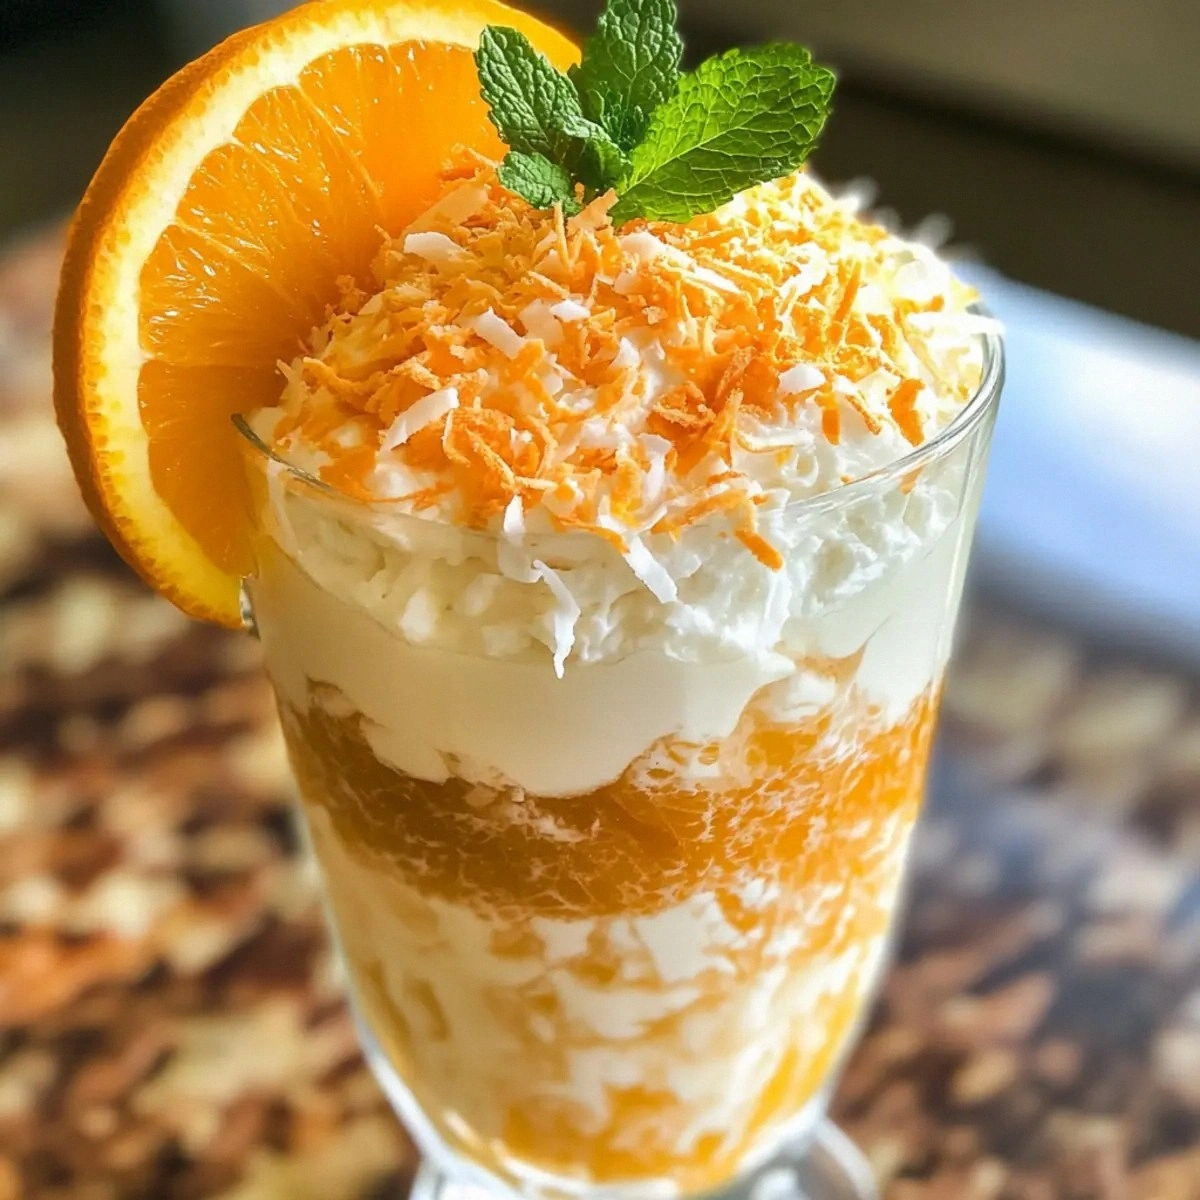
Transfer the finished mousse into individual serving glasses or a large serving bowl. Smooth the tops with the back of a spoon, then sprinkle the additional tablespoon of orange zest over the surface for a pop of color and extra zing. For an optional garnish, add a few mint leaves or a light drizzle of extra honey. This final look not only pleases the eye but also adds a subtle textural contrast.
Cover the desserts with plastic wrap and refrigerate for at least 30 minutes. This chilling period allows the flavors to meld and the mousse to set to a perfect, spoon‑ready consistency. While it chills, the kitchen will be filled with a lingering citrus‑coconut perfume that makes the wait feel like a reward in itself.
When you’re ready to serve, pull the glasses out of the fridge, watch the glossy surface catch the light, and present them with a flourish. Picture yourself pulling this out of the fridge, the whole kitchen smelling incredible, and your guests leaning in for that first bite. That first spoonful? It should melt on the tongue, delivering a wave of tropical sunshine that leaves you smiling. That’s it — you did it. But hold on, I’ve got a few more tricks that’ll take this to another level…
Insider Tricks for Flawless Results
The Temperature Rule Nobody Follows
Never whisk coconut cream straight from the freezer; the outer layer will be too solid and the interior too soft, leading to uneven peaks. Instead, let the can sit in the refrigerator for at least 12 hours, then give it a quick 10‑minute stint in the freezer before whisking. This creates a uniform temperature that whips up into glossy peaks without over‑mixing. I once tried skipping this step, and the mousse turned grainy—trust me, the extra few minutes are worth the silky finish.
Why Your Nose Knows Best
When folding in the orange‑honey mixture, pause and take a deep sniff. If you can smell bright citrus and faint honey, you’re on the right track. If the scent feels muted, your orange juice may have been too old or the honey too diluted. Adjust by adding a splash more fresh juice or a drizzle of honey, but do so sparingly to keep the balance. Your nose is a more reliable gauge than a timer when it comes to flavor harmony.
The 5‑Minute Rest That Changes Everything
Once your mousse is in the serving glasses, give it a short, 5‑minute pause before the final garnish. This tiny rest period lets the air bubbles settle, resulting in a smoother surface that holds the zest garnish without sinking. I’ve seen beginners rush this step and end up with a mottled look that looks less polished. Patience here translates directly into a more professional presentation.
Mint Integration Mastery
If you love mint, don’t overdo it. A single sprig, finely torn, is enough to introduce that cooling note without overpowering the citrus. Add the mint right at the end of the folding process, and you’ll notice the aroma lifting the entire dessert, like a fresh breeze on a hot day. Over‑mixing the mint can bruise the leaves, turning the flavor bitter—so a gentle fold is all you need.
Serving Glass Selection
Choose clear, wide‑rimmed glasses for this dessert. The transparency showcases the glowing orange hue, while the wide rim allows the garnish to sit proudly on top. If you’re serving a crowd, a shallow serving bowl works too, but individual glasses make the experience feel more intimate and Instagram‑ready. Trust me, the visual impact adds to the perceived taste.
Creative Twists and Variations
This recipe is a playground. Here are some of my favorite ways to switch things up:
Tropical Coconut‑Pineapple Fusion
Swap half of the orange juice for fresh pineapple juice and add a tablespoon of toasted coconut flakes on top. The pineapple adds a tangy sweetness that pairs beautifully with the coconut, creating a mini piña colada in a bowl. Pineapple lovers will thank you, and the toasted flakes give a subtle crunch that contrasts the mousse’s silkiness.
Spiced Autumn Glow
Add a pinch of ground cinnamon and a dash of nutmeg to the orange‑honey mixture before folding. This gives the dessert a warm, comforting vibe perfect for cooler evenings. Pair with a drizzle of caramel sauce for an extra indulgent twist that feels like a holiday treat.
Berry‑Burst Variation
Fold in a half‑cup of fresh raspberries or strawberries right before chilling. The berries add a burst of tartness and a beautiful pink swirl, turning the dessert into a visual masterpiece. Just be sure to gently fold so the berries don’t break down completely.
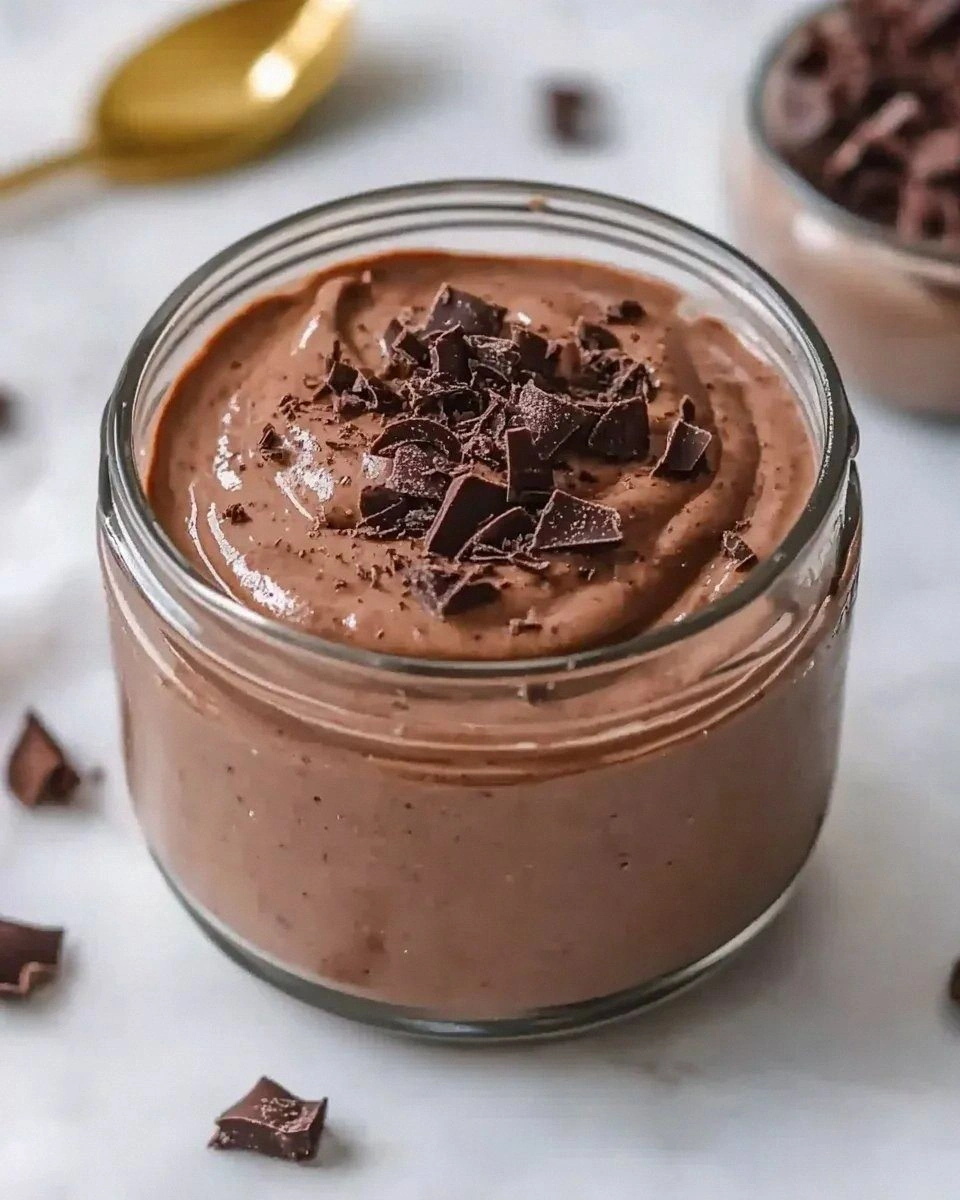
Vegan Chocolate Drizzle
Replace honey with agave syrup for a fully vegan version, then drizzle 1 tablespoon of melted dark chocolate over the top before serving. The bitterness of the chocolate balances the sweet citrus, creating a sophisticated flavor combo that’s perfect for a dinner party finale.
Mint‑Lime Refresher
Swap orange zest for lime zest and increase the mint to two sprigs. The lime adds a sharper acidity, while the extra mint makes the dessert feel like a summer cocktail. Serve in chilled shot glasses for a fun, bite‑size party treat.
Storing and Bringing It Back to Life
Fridge Storage
Transfer any leftovers to an airtight container and keep them in the refrigerator for up to 3 days. The mousse will continue to firm up slightly, so before serving, let it sit at room temperature for 5‑10 minutes and give it a gentle stir to restore its creamy texture. If you notice any separation, a quick whisk will bring it back together.
Freezer Friendly
This dessert freezes exceptionally well. Portion it into individual containers, leaving a little headspace, and freeze for up to 1 month. When you’re ready to enjoy, transfer to the fridge overnight, then add a splash of fresh orange juice (about a teaspoon) before serving to revive the bright citrus notes.
Best Reheating Method
If the mousse has become too firm after chilling, place the serving glass in a shallow bowl of warm water for 30 seconds. Add a tiny splash (about a teaspoon) of orange juice or a drizzle of honey, then give it a gentle stir. This steam‑back technique restores the silky mouthfeel without compromising the flavor balance.