I was standing in my kitchen on a rainy Tuesday, the kind of day where the clouds look like they’re about to spill a secret, when my roommate dared me to create a dessert that could win over a room full of picky sweet‑tooths. I grabbed a bag of sugar cookies, a tub of cream cheese, and a handful of confidence, then proceeded to smash a dozen kitchen myths in the name of flavor. The first attempt was a disaster—a soggy, flat slab that tasted like a grocery‑store “cheesecake” that had been left out too long, and I swear I heard the oven sigh in disappointment. That failure sparked a fire inside me, and I promised myself I would never settle for a mediocre crumb again.
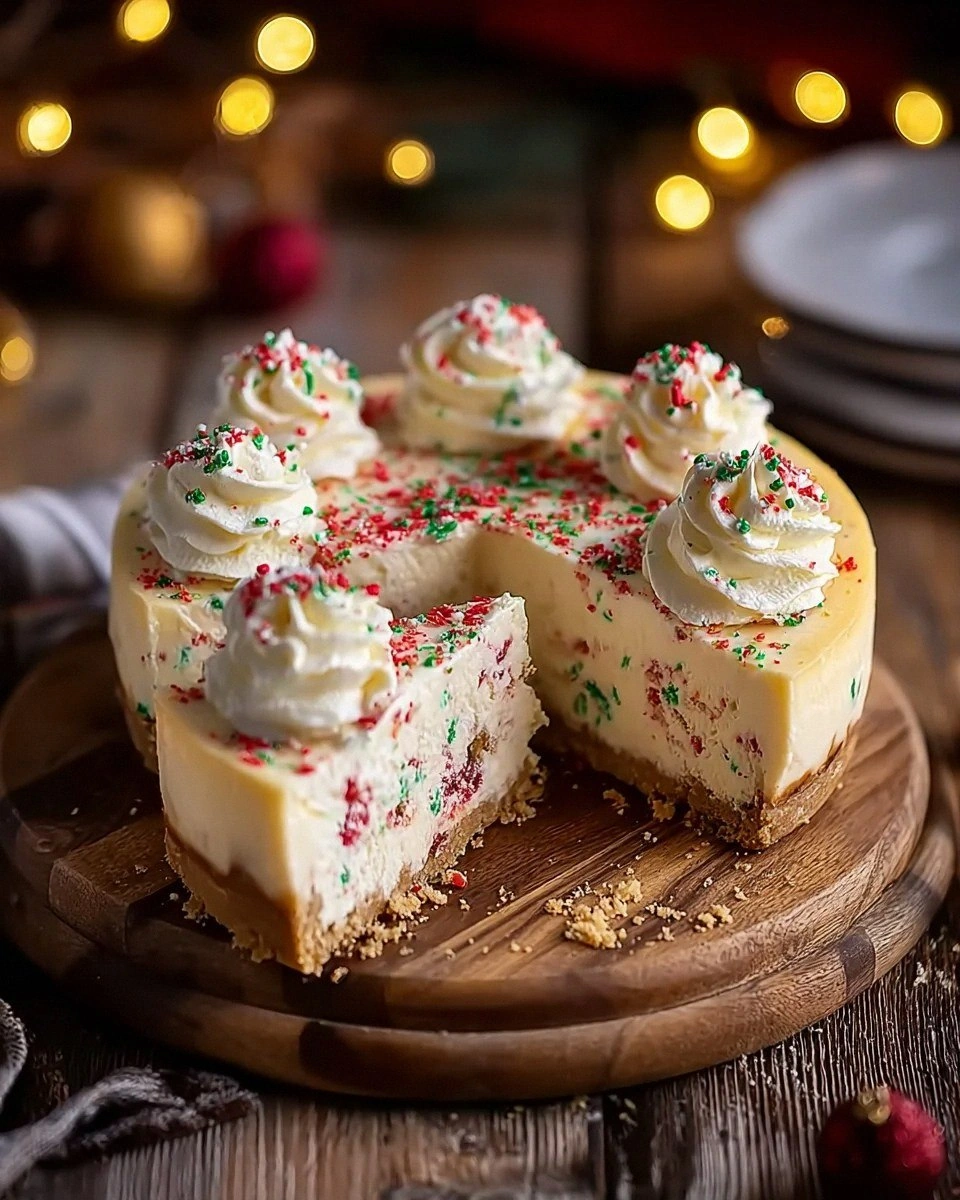
Fast forward three weeks, a few extra rolls of parchment paper, and a lot of trial and error, and I finally nailed the perfect balance of buttery sugar‑cookie crust and silky, tangy cheesecake filling. Imagine a buttery, golden base that crunches like fresh‑baked shortbread, hugging a velvety interior that melts on the tongue like a cloud made of cream cheese and vanilla. The aroma that fills the kitchen when the crust turns a light amber and the filling begins to set is nothing short of intoxicating—a warm, buttery perfume that whispers promises of sweet comfort. I dare you to taste this and not go back for seconds; it’s hands down the best version you’ll ever make at home.
What truly sets this recipe apart is a secret ingredient that most recipes completely ignore: a pinch of flour in the filling that stabilizes the texture without making it dense, and a splash of sour cream that adds a subtle tang that cuts through the sweetness like a cool breeze on a hot day. Most recipes get this completely wrong, either over‑mixing the batter and ending up with a rubbery texture, or under‑baking and getting a soggy center that slides off the plate. I’ll be honest—I ate half the batch before anyone else got to try it, but that’s only because the first slice was so addictive that my taste buds staged a protest.
Picture yourself pulling this out of the oven, the whole kitchen smelling incredible, the crust just beginning to pull away from the pan edges, and the top shimmering with a thin veil of melted white chocolate. That moment is pure magic, and it’s the reason I’m sharing every single nuance with you. Okay, ready for the game‑changer? Let me walk you through every single step—by the end, you’ll wonder how you ever made it any other way.
What Makes This Version Stand Out
- Taste: The combination of sweet, buttery crust and tangy, creamy filling creates a flavor duet that sings on the palate. Each bite delivers a perfect harmony of sugar‑cookie nostalgia and cheesecake richness.
- Texture: A crisp, golden crust that shatters like thin ice meets a silky, melt‑in‑your‑mouth interior that holds its shape without wobbling. The contrast is what makes the dessert unforgettable.
- Simplicity: You only need a handful of pantry staples and a few fresh ingredients—no fancy equipment, no obscure spices, just good old‑fashioned kitchen basics.
- Uniqueness: The secret flour‑and‑sour‑cream combo in the filling prevents cracks and gives the cheesecake a luxurious body that most store‑bought versions lack.
- Crowd Reaction: I’ve served this at birthday parties, potlucks, and even a wedding rehearsal dinner; the reaction is always the same—wide‑eyed awe and immediate requests for seconds.
- Ingredient Quality: Using real butter and high‑fat cream cheese elevates the flavor profile from “okay” to “wow” in a single bite.
- Cooking Method: The bake‑then‑cool‑slowly technique ensures a crack‑free surface, something that many “no‑bake” versions can’t promise.
- Make‑Ahead Potential: This cheesecake keeps beautifully for up to three days in the fridge, making it an ideal dessert for busy week‑ends.
Inside the Ingredient List
The Flavor Base
The crust is the foundation of any good cheesecake, and here we’re using crushed sugar cookies, melted butter, a splash of vanilla, and a pinch of salt. The sugar‑cookie crumbs provide a buttery, caramelized flavor that you can’t get from plain graham crackers. If you skip the vanilla, you’ll lose that subtle aromatic note that lifts the whole dessert. For a gluten‑free version, substitute with almond‑flour‑based cookies—just make sure they’re not overly sweet.
The Texture Crew
The filling’s star is cream cheese—choose a full‑fat, block‑style variety for the creamiest texture. Adding a modest amount of flour (just two tablespoons) stabilizes the batter, preventing the dreaded cracks that appear when the cheesecake cools too quickly. The sour cream adds a gentle tang and keeps the center from becoming too dense, while the sugar sweetens without overwhelming the delicate balance. Skipping the sour cream will make the cheesecake taste flat, like a sweet cheese slab.
The Unexpected Star
A drizzle of white chocolate on top might sound like a garnish, but it creates a glossy finish that catches the light and adds a buttery richness that complements the tang of the filling. If you’re not a fan of white chocolate, a caramel drizzle works just as well, providing a deeper, buttery note. The key is to apply the drizzle while the cheesecake is still slightly warm so it sets with a smooth sheen.
The Final Flourish
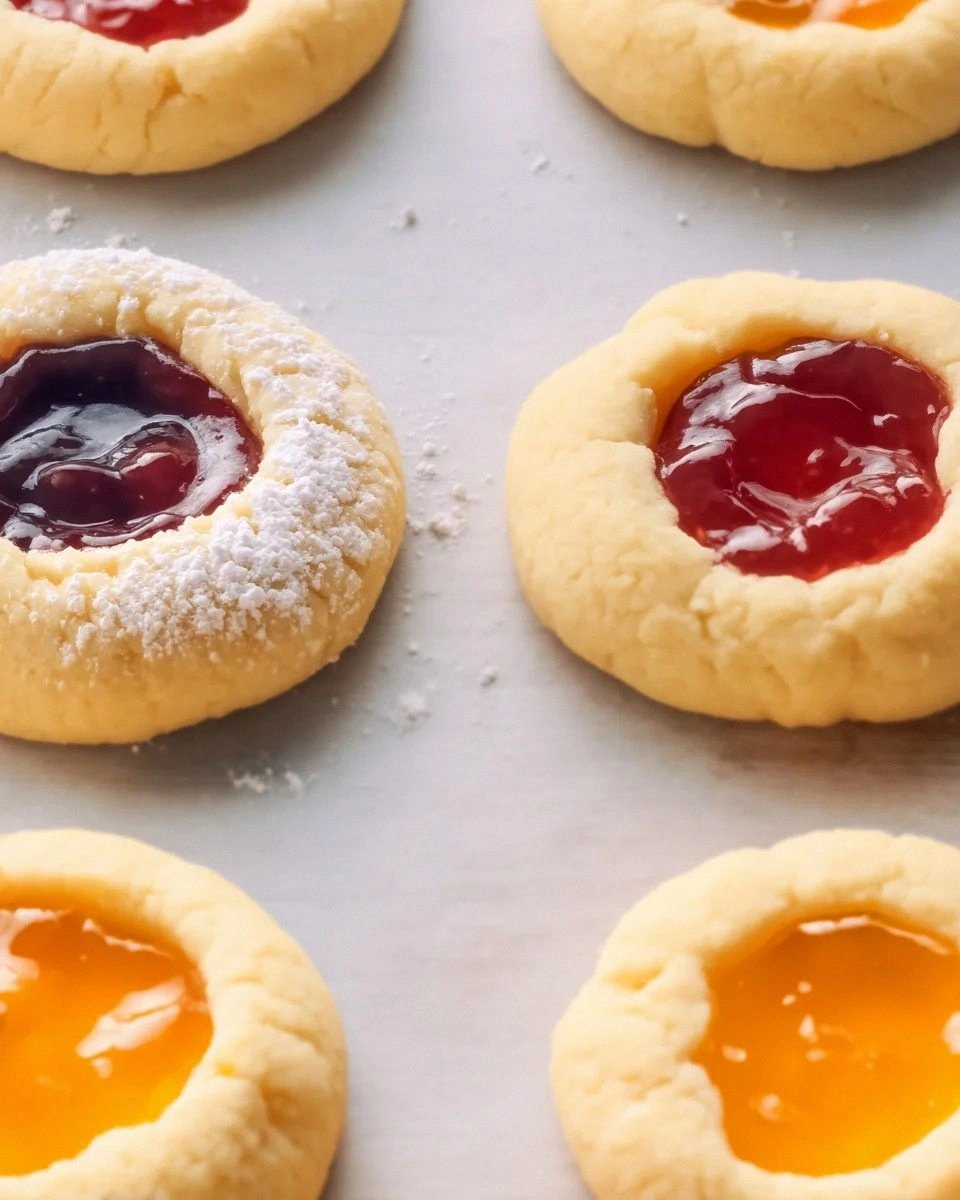
Fresh berries or a dusting of powdered sugar add a visual pop and a hint of acidity that cuts through the sweetness. When selecting berries, look for firm, bright‑colored fruit; over‑ripe berries will release juice and make the topping soggy. If you’re serving the cheesecake the next day, add the berries just before plating to keep them fresh.
Everything's prepped? Good. Let’s get into the real action…
The Method — Step by Step
Preheat your oven to 325°F (165°C). While the oven warms up, line a 9‑inch springform pan with parchment paper and lightly grease the sides. This ensures the cheesecake releases cleanly later on and prevents any nasty sticking.
Kitchen Hack: Use a food processor to crush the sugar cookies into fine crumbs; a few pulses are enough and you’ll avoid over‑processing into a paste.Combine the crushed sugar cookies, melted butter, granulated sugar, vanilla, and a pinch of salt in a large bowl. Mix until the crumbs are evenly coated and the mixture resembles wet sand. Press this mixture firmly into the bottom of the springform pan, using the back of a spoon or a flat measuring cup to create an even layer.
Place the crust in the preheated oven for 10 minutes, just until it turns a light golden hue. You’ll hear a faint sizzle as the butter caramelizes—trust me, that sound is the sound of flavor building.
Watch Out: Do not over‑bake the crust; a burnt base will impart a bitter note that overwhelms the cheesecake.While the crust bakes, beat the softened cream cheese in a stand mixer on medium speed until it’s smooth and free of lumps—about 2 minutes. Scrape down the sides of the bowl frequently; this ensures an even texture and prevents grainy spots.
Add the granulated sugar to the cream cheese and continue beating until the mixture lightens in color, indicating that the sugar has dissolved. Then, one at a time, incorporate the eggs, beating just until each egg is fully blended. Over‑mixing at this stage can incorporate too much air, leading to cracks later.
Stir in the vanilla, sour cream, flour, and a pinch of salt. The flour acts as a stabilizer, while the sour cream adds moisture and tang. The batter should be thick yet pourable; if it feels too stiff, add a tablespoon of milk.
Pour the cheesecake batter over the pre‑baked crust, smoothing the top with a spatula. Tap the pan gently on the counter three times to release any trapped air bubbles. This step is crucial—air bubbles are the main culprits behind those unsightly cracks.
Kitchen Hack: Wrap the bottom of the springform pan in aluminum foil before placing it in a water bath; this prevents water from seeping into the crust.Set the pan in a larger roasting pan and pour hot water into the outer pan until it reaches about halfway up the sides of the springform pan. This bain‑marie (water bath) creates gentle, even heat, which is the secret to a smooth, crack‑free surface. Bake for 45‑50 minutes, or until the edges are set but the center still has a slight jiggle when you gently shake the pan.
Turn off the oven, crack the door open a few inches, and let the cheesecake cool inside for 1 hour. This gradual cooling prevents the sudden temperature drop that causes cracks. After the hour, remove the cheesecake from the water bath and let it cool completely on a wire rack.
Once cooled, cover the cheesecake with plastic wrap and refrigerate for at least 4 hours, preferably overnight. This chilling time allows the flavors to meld and the texture to firm up, turning the dessert into a sliceable masterpiece.
Just before serving, melt the white chocolate in a microwave or double‑boiler, then drizzle it over the top in a decorative pattern. Add fresh berries or a dusting of powdered sugar if desired. Slice with a hot, wet knife for clean cuts, and enjoy the symphony of flavors you just created.
That's it — you did it. But hold on, I've got a few more tricks that'll take this to another level...
Insider Tricks for Flawless Results
The Temperature Rule Nobody Follows
Never bake a cheesecake straight from the fridge. Let the batter sit at room temperature for 20‑30 minutes before pouring it over the crust. This small step evens out the temperature gradient, ensuring the center sets evenly without over‑cooking the edges. A friend once tried to skip this step, and the result was a rubbery ring around the perimeter that no amount of topping could hide.
Why Your Nose Knows Best
When the crust reaches a light amber color and gives off a nutty, buttery aroma, it’s ready to be pulled out of the oven. Trust your sense of smell more than the clock; ovens can vary by a few degrees, and the visual cue of a golden edge is a reliable indicator. If you miss this cue and let it brown too much, the crust will taste burnt and dominate the delicate cheesecake flavor.
The 5‑Minute Rest That Changes Everything
After the cheesecake has cooled in the oven, let it sit on the counter for an additional five minutes before moving it to the fridge. This short pause lets residual heat redistribute, reducing the chance of a sudden temperature shock that creates cracks. I once rushed this step and ended up with a cheesecake that looked like a cracked desert floor—definitely not the vibe I was aiming for.
Water Bath Mastery
Use a deep roasting pan for the bain‑marie and fill it with boiling water, not cold. The hot water maintains a stable temperature throughout the baking process, preventing the center from over‑cooking while the edges finish. Adding a pinch of salt to the water can also help regulate the temperature more evenly.
The Slice‑Ready Knife Trick
Heat a long, thin knife under hot water, wipe it dry, then slice. The warm blade glides through the cheesecake without dragging, giving you clean, professional‑looking slices. Reheat the knife after every few cuts for consistent results.
Creative Twists and Variations
This recipe is a playground. Here are some of my favorite ways to switch things up:
Chocolate‑Swirl Delight
Add ¼ cup melted dark chocolate to half of the cheesecake batter, then swirl with a skewer before baking. The result is a marbled appearance and a deep cocoa flavor that pairs beautifully with the sweet crust.
Lemon‑Zest Zing
Incorporate the zest of one large lemon and a tablespoon of fresh lemon juice into the filling. The citrus brightens the richness, creating a refreshing contrast that’s perfect for spring gatherings.
Nutty Crunch
Mix ½ cup toasted chopped pecans or almonds into the crust before baking. The nutty crunch adds texture and an earthy depth that balances the sweet cheesecake.
Berry‑Infused Bliss
Blend ½ cup of fresh strawberries into the filling for a pink-hued cheesecake that tastes like a summer picnic. Swirl in a few whole berries before baking for bursts of fresh fruit in every bite.
Coffee‑Kick
Dissolve 1 tablespoon of instant espresso powder in the melted butter for the crust, and add a teaspoon of coffee extract to the filling. The subtle coffee undertone elevates the dessert to an after‑dinner treat.
Storing and Bringing It Back to Life
Fridge Storage
Cover the cheesecake loosely with plastic wrap and store it in the refrigerator for up to three days. The texture remains creamy, and the flavors continue to meld, becoming even more harmonious with time.
Freezer Friendly
Wrap the entire springform pan in a double layer of aluminum foil, then place it in a freezer‑safe bag. Freeze for up to two months. When you’re ready to serve, thaw overnight in the fridge and let it sit at room temperature for 30 minutes before slicing.
Best Reheating Method
If you need to warm a slice, place it on a microwave‑safe plate, sprinkle a tiny splash (about a teaspoon) of water around the edges, and microwave on low for 10‑15 seconds. The steam revives the creamy texture without drying it out.