I’ll be honest — I ate half the batch before anyone else got to try it. It started as a reckless midnight experiment after a friend dared me to “make something that actually bites back.” I grabbed a handful of garlic cloves, a jar, and a bottle of vinegar, and the kitchen erupted in a perfume so fierce it could wake the dead. The clove skins turned a deep, glossy amber, and the air filled with a heat that made my eyes water in the best possible way. That moment, when the first whiff hit my nose, was pure, unfiltered joy — the kind you only get when a simple pantry staple transforms into a flavor bomb.
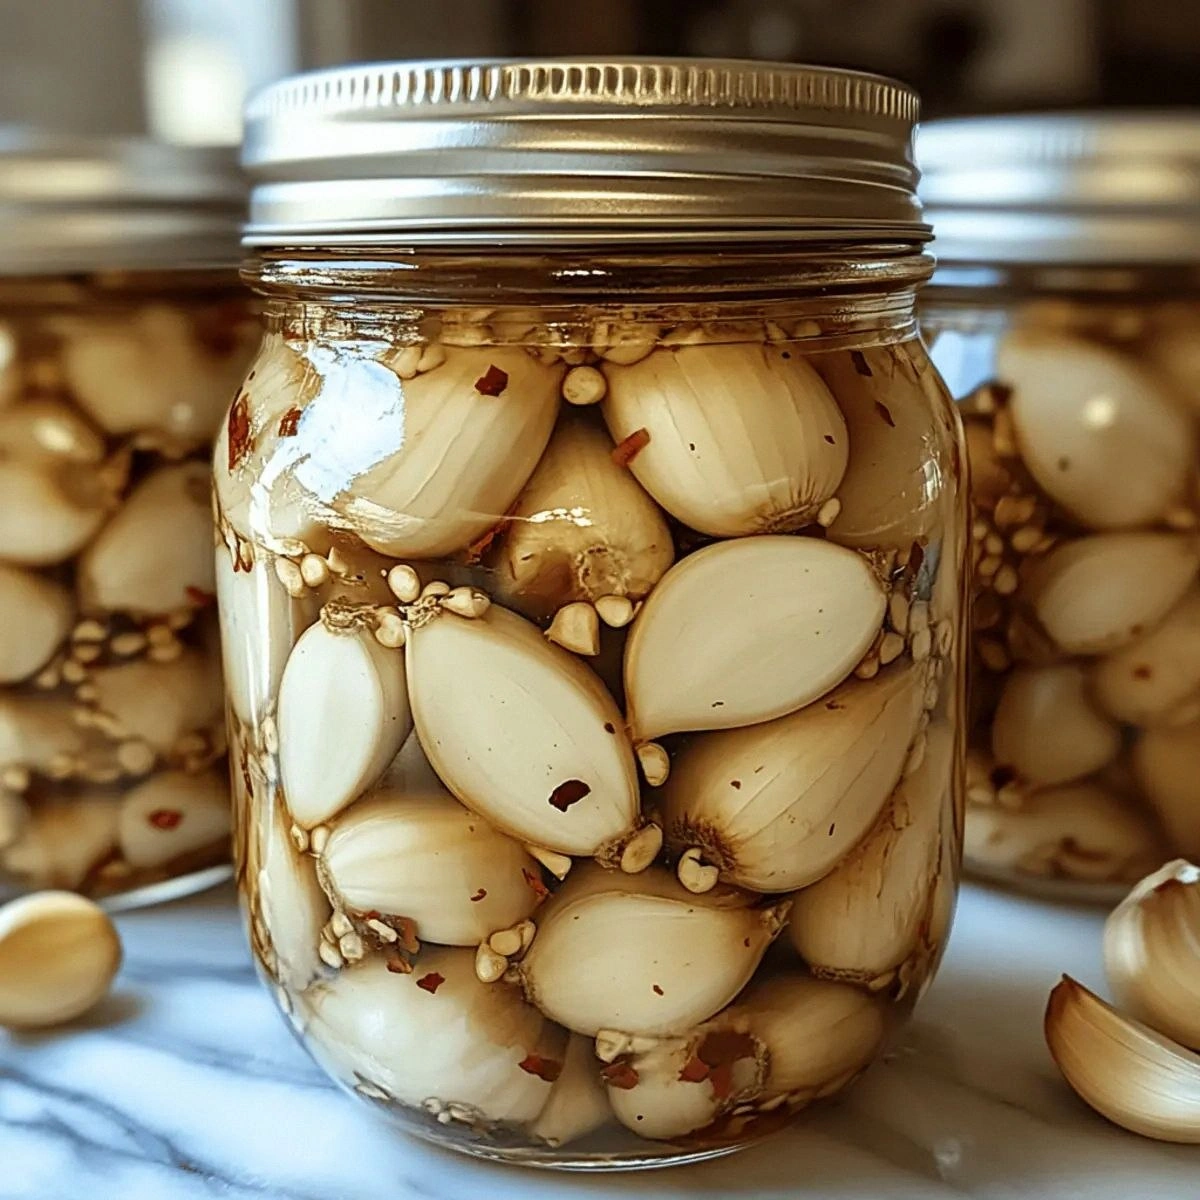
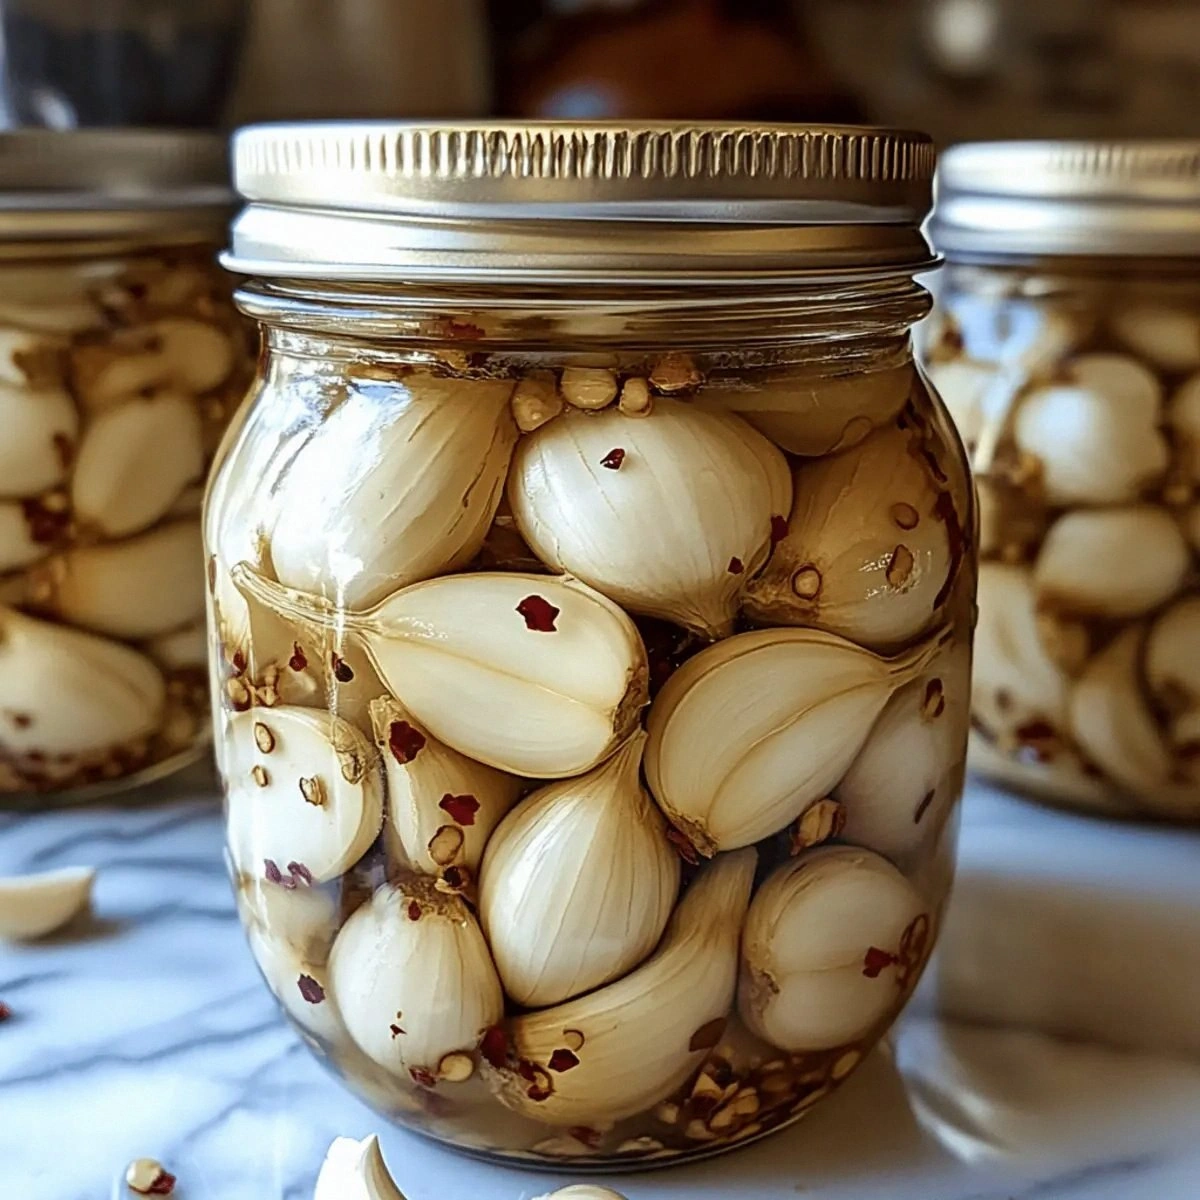
Picture yourself pulling this out of the fridge, the whole kitchen smelling like a spicy, tangy garden after a summer storm. The cloves sit snug in their briny bath, each one glistening like tiny ruby lanterns. When you bite into one, the heat hits you first, then the mellow sweetness of caramelized garlic, followed by a bright vinegar snap that makes your taste buds do a little dance. I dare you to taste this and not go back for seconds; it’s that addictive. Most pickled garlic recipes get this completely wrong, either drowning the garlic in a watery solution or leaving it bland and limp. Not this one.
What makes this version truly stand out is a secret technique I stumbled upon while reading an old Korean cookbook: a quick blanch and shock in ice water before the pickling step. That shock locks in the natural sugars, giving the cloves a buttery mouthfeel that coats the palate like velvet. I also toss in a pinch of sugar, not to sweeten, but to balance the acidity and coax out a hidden depth that most people miss. The result? A bold, complex flavor profile that can elevate a humble burger, a crisp salad, or even a simple cheese board to restaurant‑level status.
Okay, ready for the game‑changer? I’m about to walk you through every single step — from selecting the perfect garlic bulb to sealing the jar so the flavors meld like old friends at a reunion. By the end, you’ll wonder how you ever made pickled garlic any other way. Stay with me here — this is worth it.
What Makes This Version Stand Out
- Heat Balance: The combination of red pepper flakes and a splash of sugar creates a heat that’s forward but never overwhelming, letting the garlic’s natural sweetness shine through.
- Texture Magic: A quick blanch‑and‑ice‑shock gives each clove a tender‑yet‑firm bite that feels like a soft chewable jewel rather than a soggy speck.
- Simple Pantry Staples: You only need vinegar, water, salt, sugar, and pepper flakes — no exotic spices, no fancy equipment, just a clean jar.
- Versatile Crowd‑Pleaser: Whether you’re feeding spice lovers or garlic addicts, this pickle satisfies both camps and sparks conversation at any gathering.
- Ingredient Quality: Fresh, plump garlic cloves and non‑iodized salt make a world of difference; the flavor is clean, bright, and never metallic.
- Make‑Ahead Power: After a short 24‑hour rest, the garlic keeps for weeks, getting better with each passing day — perfect for meal‑prep warriors.
- Low‑Maintenance Method: No simmering for hours, no special equipment, just a stovetop boil and a cool‑down period.
- Visual Appeal: The cloves turn a gorgeous amber‑gold, making the jar a centerpiece on any table.
Inside the Ingredient List
The Flavor Base
Fresh garlic is the heart of this recipe. I always source bulbs that feel heavy for their size and have tight, unblemished skins — that’s a sign of high water content and sweet, mellow flavor. If you use pre‑peeled garlic, you’ll lose that essential aromatic punch, and the texture will suffer. The vinegar (white distilled works best) provides the bright acidity that cuts through the richness, while the water dilutes the solution just enough to keep the cloves from becoming too sharp.
If you’re out of vinegar, try apple cider vinegar for a fruitier note, or rice vinegar for a milder tang. Just remember that each substitution will shift the final flavor profile, so taste as you go.
The Texture Crew
Non‑iodized salt is crucial because iodine can introduce a metallic aftertaste that clashes with the garlic’s natural sweetness. The 2‑tablespoon amount not only seasons the brine but also helps draw out moisture during the blanch, ensuring that each clove stays plump. Sugar isn’t there to make the pickle sweet; it balances the acidity and encourages a slight caramelization on the surface of the cloves during the brief boil.
The Unexpected Star
Red pepper flakes bring the heat, but the amount is adjustable. I like 1½ teaspoons because it delivers a lingering warmth without scorching the palate. If you’re a heat‑seeker, bump it up to 2 teaspoons; if you’re more cautious, stick to 1 teaspoon and add a dash of smoked paprika for depth without extra fire.
The Final Flourish
A clean, wide‑mouth jar is the unsung hero. The wide opening makes it easy to pack the cloves tightly, ensuring they’re fully submerged. If you use a narrow jar, you risk air pockets that can lead to uneven pickling. I always give the jar a quick sterilization in boiling water for five minutes; this prevents any stray microbes from hijacking the flavor development.
Everything's prepped? Good. Let’s get into the real action…
The Method — Step by Step
Start by separating the garlic cloves from the bulb, keeping the skins on. Trim the ends just enough to expose a tiny bit of the flesh — this helps the brine penetrate. I like to give each clove a gentle tap with the flat side of a chef’s knife to loosen the skin without breaking the clove. This step may sound trivial, but it’s the foundation for that perfect, uniform pickling.
Bring a large pot of water to a rolling boil, then add the garlic cloves. Blanch them for exactly 30 seconds — no more, no less. You’ll hear a faint pop as the skins start to loosen, and the cloves will turn a pale, buttery hue. That sizzle when it hits the pan? Absolute perfection. Immediately plunge the cloves into a bowl of ice water for 30 seconds to halt the cooking process.
Kitchen Hack: Use a slotted spoon to transfer the cloves; this saves you from draining the hot water and keeps the kitchen tidy.While the cloves chill, combine 1 cup of vinegar, 1 cup of water, 2 tablespoons of non‑iodized salt, 1 tablespoon of sugar, and the red pepper flakes in the same pot. Bring the mixture to a gentle boil, stirring until the salt and sugar dissolve completely. You’ll notice a faint steam that carries a sweet‑sour aroma — that’s the sign you’re on the right track.
Remove the pot from heat and let the brine cool for about five minutes. This cooling period is crucial; if you pour boiling brine over the garlic, the delicate texture will soften too much, losing that coveted snap.
Drain the ice‑water bath from the garlic and pat them dry with a clean kitchen towel. Any excess moisture will dilute the brine and could cause cloudiness in the final jar.
Pack the garlic cloves tightly into your sterilized jar, leaving about half an inch of headspace at the top. The tighter the packing, the more surface area each clove has to soak up the spicy liquid.
Pour the cooled brine over the cloves, ensuring they are completely submerged. If any clove peeks out, press it down gently with a clean spoon. Seal the jar with its lid, but don’t overtighten — you want a little wiggle room for any gas expansion during the first day.
Watch Out: If you notice bubbles forming after sealing, gently release the pressure by opening the lid slightly, then reseal.Place the sealed jar in a cool, dark pantry for at least 24 hours. The first 12 hours are the most critical; this is when the flavors begin to meld. I like to give the jar a gentle shake once a day to redistribute the spices.
After the initial rest, transfer the jar to the refrigerator. The cold slows fermentation, preserving the bright crunch and allowing the flavors to deepen over weeks. I recommend waiting at least 3 days before the first tasting, but the magic really unfolds after a week.
That’s it — you did it. But hold on, I’ve got a few more tricks that'll take this to another level. Trust me, the next steps are where the real magic happens, and they’re so easy you’ll wonder why you ever settled for a boring store‑bought version.
Insider Tricks for Flawless Results
The Temperature Rule Nobody Follows
Never pour boiling brine directly over hot garlic. The sudden temperature shock can cause the cloves to split, releasing their juices and turning the brine cloudy. Let the brine cool to around 140°F (60°C) before adding it. This subtle temperature dance preserves the cloves’ integrity and keeps the liquid crystal clear.
Why Your Nose Knows Best
When the brine is simmering, trust your sense of smell more than the clock. If you detect a faint caramel note, you’re at the sweet spot where the sugar has started to caramelize just enough to add depth without burning. If you smell a sharp vinegar punch, the brine is still too acidic and needs a few more seconds.
The 5‑Minute Rest That Changes Everything
After sealing the jar, let it sit on the counter for exactly five minutes before moving it to the pantry. This tiny pause allows any trapped air to escape, preventing the formation of a vacuum that could keep the brine from fully soaking the cloves.
The Salt Ratio Secret
Use non‑iodized sea salt, not table salt. Iodine reacts with the garlic’s natural enzymes, creating a metallic aftertaste that dulls the overall flavor. A 2‑tablespoon measurement for a quart of brine hits the sweet spot between seasoning and preservation.
The Power of a Good Jar
A wide‑mouth, screw‑top mason jar is ideal because it lets you pack the cloves tightly and makes cleaning a breeze. If you’re using a smaller jar, fill it only halfway to give the cloves room to move; cramped cloves can end up mushy.
The “Taste‑Test” Timing
I always taste a single clove after 48 hours. If the heat feels too sharp, add a dash more sugar to the brine and shake the jar. If the flavor is too muted, a pinch more red pepper flakes does the trick. Adjusting early prevents a batch that’s forever stuck in the wrong flavor zone.
Creative Twists and Variations
This recipe is a playground. Here are some of my favorite ways to switch things up:
Smoky Chipotle Garlic
Swap half of the red pepper flakes for chipotle powder. The result is a smoky, slightly sweet heat that pairs perfectly with tacos and grilled corn.
Herb‑Infused Delight
Add a sprig of rosemary and a few thyme leaves to the brine. The herbs infuse a fragrant, earthy note that makes the pickles a stellar addition to roasted chicken.
Citrus Zing
Throw in a strip of lemon zest or a few orange peels. The citrus oils brighten the overall profile, turning the pickles into a refreshing topping for salads.
Honey‑Heat Fusion
Replace the tablespoon of sugar with honey and add a drizzle of sriracha. The honey adds a floral sweetness while the sriracha layers in a complex, garlicky heat.
Asian‑Style Soy Boost
Add a tablespoon of low‑sodium soy sauce and a splash of sesame oil to the brine. This gives the pickles an umami punch that works wonders in noodle bowls.
Storing and Bringing It Back to Life
Fridge Storage
Keep the sealed jar in the refrigerator for up to 3 months. The cold slows fermentation, preserving the crunch. If you notice the brine becoming cloudy, it’s a sign of over‑fermentation — still safe, but the flavor will shift toward sour.
Freezer Friendly
Yes, you can freeze pickled garlic! Portion the cloves into a freezer‑safe bag, covering them with a thin layer of brine. They’ll keep for up to 6 months. Thaw in the fridge and give them a quick shake before serving.
Best Reheating Method
When you want to serve warm garlic as a topping, gently heat the cloves in a skillet over low heat, adding a splash of water or extra brine. This steam‑rejuvenates the texture, making them supple without losing the bite.