Picture this: a midnight kitchen, the smell of fresh bread rising, and a friend daring me to make something that would blow everyone’s taste buds. I had just finished a marathon of ramen and was craving something comforting yet adventurous. The idea of a buttery, garlicky roll that could double as a side or a snack seemed perfect. I pulled out the flour, yeast, and a jar of garlic from my pantry, ready to create a masterpiece. That night, I discovered a recipe that would become my new obsession.
I started by mixing dry ingredients, watching the flour cloud rise like a cloud of possibility. The warm water hit the yeast with a hiss, turning it into a frothy promise of flavor. As the dough began to knit together, the kitchen filled with a buttery aroma that made my stomach do somersaults. I could already taste the golden crust that would crackle when baked. The anticipation was almost as delicious as the final product.
I started by mixing dry ingredients, watching the flour cloud rise like a cloud of possibility. The warm water hit the yeast with a hiss, turning it into a frothy promise of flavor. As the dough began to knit together, the kitchen filled with a buttery aroma that made my stomach do somersaults. I could already taste the golden crust that would crackle when baked. The anticipation was almost as delicious as the final product.
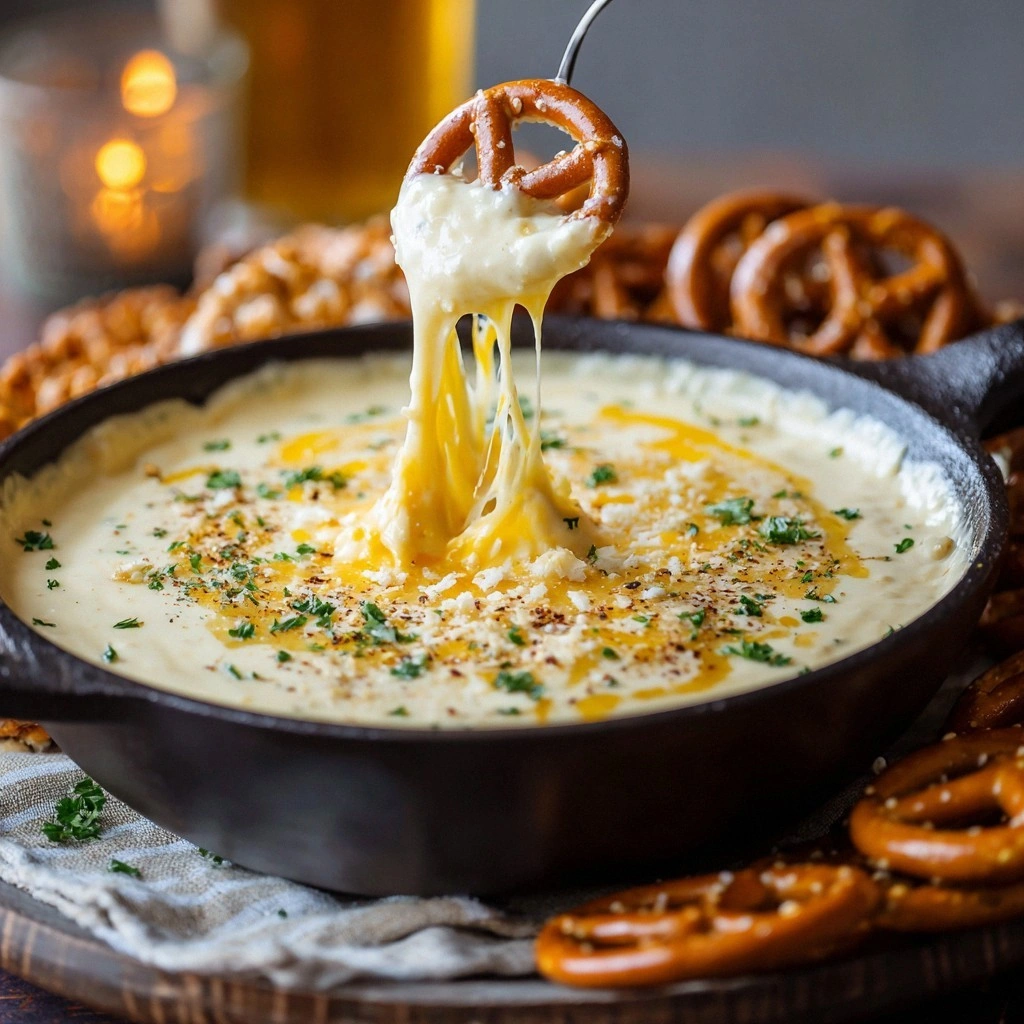
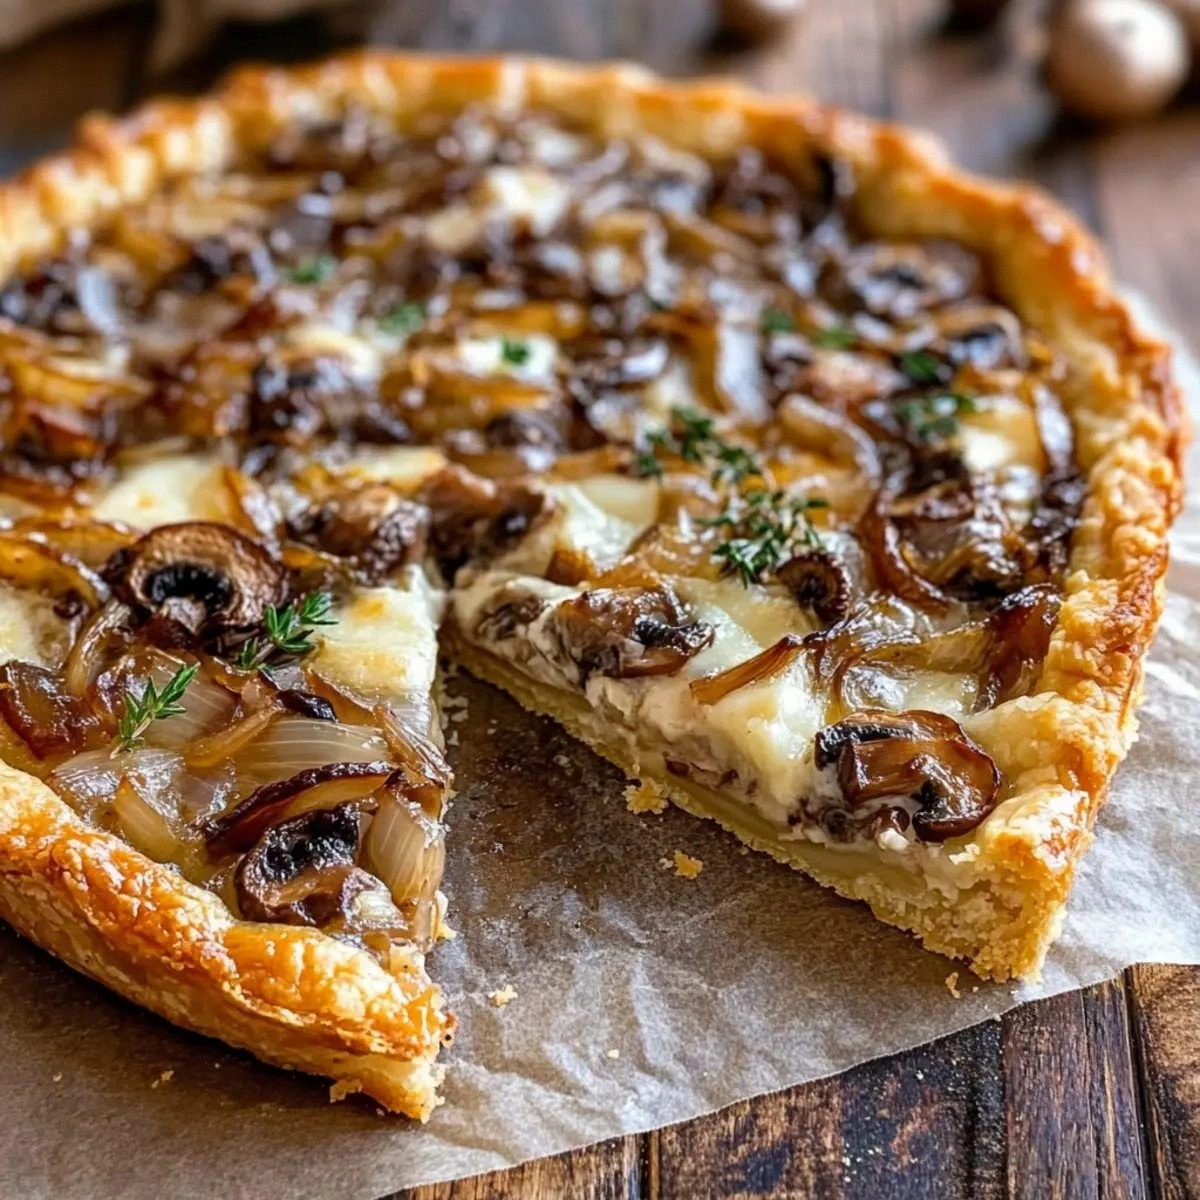
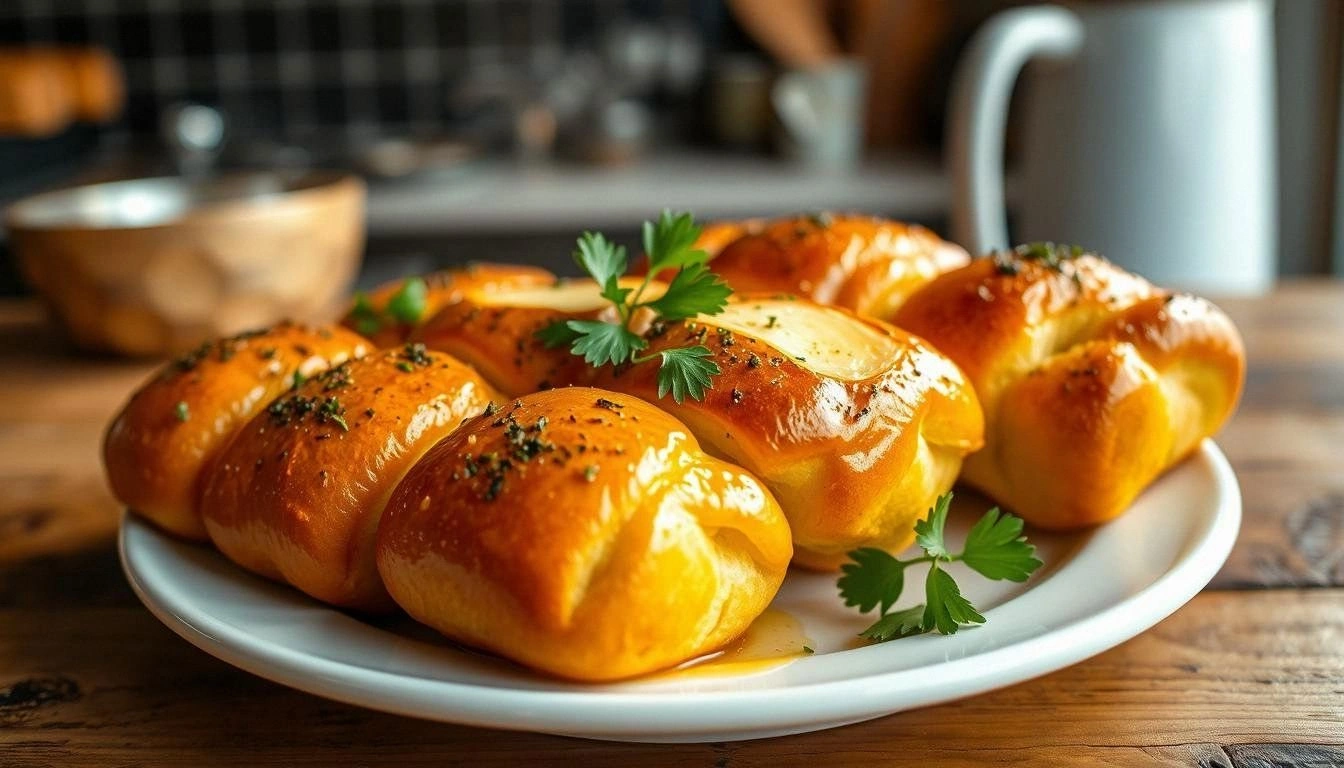
This isn’t just another garlic bread; it’s a Hawaiian roll infused with a secret herb blend that gives it a tropical twist. The garlic butter is studded with fresh parsley and oregano, creating a vibrant green contrast that makes it look almost like a piece of art. The result is a bread that is both chewy and crispy, with a flavor that sings like a tropical breeze. I dare you to taste this and not go back for seconds. I’ve never seen a recipe that balances comfort and adventure so flawlessly.
Most recipes get this completely wrong by overbaking or under‑seasoning. I’ve tried countless versions that left me with dry, flavorless rolls that looked like sad, flat bread. But this version is hands down the best you’ll ever make at home, thanks to its balanced seasoning and perfect rise. I’ll be honest — I ate half the batch before anyone else got to try it. Picture yourself pulling this out of the oven, the whole kitchen smelling incredible, and sharing it with friends who will be begging for seconds. Let me walk you through every single step — by the end, you’ll wonder how you ever made it any other way.
What Makes This Version Stand Out
- Flavor: The garlic butter is infused with fresh herbs that elevate the flavor beyond plain garlic bread. The combination of parsley and oregano brings a bright, herbal note that complements the mellow butter. The result is a taste that feels like a tropical breeze on a warm island.
- Texture: The dough achieves a chewy interior with a crisp, golden crust. The careful balance of flour and water allows the yeast to develop properly, creating a light crumb. When you bite, the crust cracks and the inside remains pillowy.
- Simplicity: All ingredients are pantry staples; no exotic items needed. You can make this in a pinch or plan ahead for a gathering. The recipe is designed to be approachable for beginners and seasoned bakers alike.
- Crowd Appeal: It’s a crowd‑pleaser that works for parties or a quiet night in. The buttery, garlicky flavor is universally loved, while the subtle herbs add a twist. Guests will rave about the crunch and the melt of the cheese.
- Make‑ahead: You can prep the dough a day ahead and bake fresh when ready. The dough stores well in the fridge, allowing you to focus on other tasks. When you’re ready, just shape and bake for a quick, satisfying snack.
- Unique Twist: The subtle tropical herb blend gives a Hawaiian vibe that sets it apart. The use of oregano and parsley gives the bread an unexpected freshness. It’s a flavor profile you won’t find in most garlic breads.
Alright, let's break down exactly what goes into this masterpiece...
Inside the Ingredient List
The Flour Factor
All-purpose flour is the backbone of this recipe, providing structure and a neutral canvas for the flavors to shine. The 32 tablespoons of flour translate to two cups, a quantity that ensures the dough isn’t too sticky but still pliable. Sugar, though minimal, activates the yeast and adds a hint of sweetness that balances the garlicky tang. Salt is the secret enhancer, coaxing out the subtle notes in the herbs and butter. Together, these dry components create a foundation that is both sturdy and responsive to the wet ingredients. The ratio of flour to liquid is carefully calibrated to produce a dough that rises beautifully without becoming dense. If you find the dough too dry, a tablespoon of warm water can rescue it; if too wet, a touch more flour will firm it up. The flour’s protein content plays a pivotal role in gluten development, which is why a moderate protein flour is ideal for this roll.
The Liquid Lift
Warm water is the catalyst for yeast activation, and the 12 tablespoons (¾ cup) of it must be around 110°F to avoid killing the yeast. Olive oil, at two tablespoons, adds moisture and a subtle fruity note that complements the garlic. The oil also helps keep the crust tender, preventing it from becoming too hard. Mixing the liquid into the dry ingredients creates a shaggy dough that demands a good knead to bring everything together. The temperature of the water is critical; too hot, and the yeast dies; too cold, and the rise is sluggish. This balance is why I always check the water’s temperature with a thermometer before adding it to the mix. The olive oil’s flavor profile enhances the overall taste, giving the bread a Mediterranean touch. Together, these liquids lift the dough, allowing it to rise and develop that coveted airy crumb.
The Garlic Butter
Melted butter is the base of the garlic butter, and the 4 tablespoons (¼ cup) provide a rich, velvety coating for the rolls. Garlic, minced into four cloves, releases its pungent oils when combined with the butter, creating an aroma that lures you in before the first bite. Fresh parsley, measured at one tablespoon, adds a burst of green freshness that cuts through the richness of the butter. Dried oregano, at one teaspoon, brings a warm, earthy undertone that complements the garlic and parsley. The butter mixture is left to infuse for a few minutes, allowing the flavors to meld together like a well‑orchestrated symphony. When brushed over the rolls, it creates a glossy sheen that signals crispness to come. The combination of butter, garlic, parsley, and oregano gives the bread a layered flavor profile that is both comforting and exotic. This butter is the secret sauce that transforms a simple roll into a culinary highlight.
The Final Flourish
Shredded mozzarella, at eight tablespoons (½ cup), is the gooey crown that melts into the warm rolls, adding a creamy texture that balances the buttery crust. The cheese is sprinkled just before baking, allowing it to melt evenly without becoming too oily. A pinch of extra oregano or a few fresh basil leaves can be added for an herbal finish. The cheese’s meltability ensures that each bite delivers a burst of creamy flavor that contrasts with the crunchy exterior. The final touch of herbs on top provides a visual pop of color that makes the rolls look appetizing. When the cheese bubbles, it creates a caramelized crust that is both sweet and savory. The combination of cheese and herbs completes the flavor profile, making each roll a miniature work of art. This finishing step is where the roll truly comes alive.
The Method — Step by Step
- First, combine 32 tablespoons of all-purpose flour, 1 tablespoon of sugar, 1 tablespoon of salt, and 1 tablespoon of active dry yeast in a large mixing bowl. Whisk the dry ingredients together until they’re evenly distributed, ensuring that the yeast is well‑mixed with the flour. This step is crucial for a uniform rise. The aroma of the yeast is faint but promising. This is the foundation that will support the rest of the flavors.
- In a separate container, pour 12 tablespoons of warm water and add 2 tablespoons of olive oil. Stir until the oil is fully incorporated into the water. The mixture should feel slightly viscous. This liquid blend is the life force that activates the yeast. Keep the temperature steady to avoid shocking the yeast.
- Add the wet mixture to the dry ingredients and stir with a wooden spoon until a shaggy dough forms. Knead the dough on a floured surface for about 8 to 10 minutes, until it becomes smooth and elastic. The dough should be tacky but not sticky. The kneading process develops gluten, giving the rolls their chewy texture. This is the moment of truth where the dough transforms from a mess to a work of art.
- While the dough rises, melt 4 tablespoons of butter in a small saucepan over low heat. Add 4 minced garlic cloves, 1 tablespoon of chopped parsley, and 1 teaspoon of dried oregano. Let the mixture simmer for 3 minutes, allowing the garlic to release its oils. The aroma should be inviting and fragrant. This butter will coat the rolls, giving them a glossy, savory finish.
- After the dough has doubled, punch it down to release excess air. Divide the dough into 8 equal portions, each weighing about 4 ounces. Shape each portion into a small oval roll, smoothing the top with your fingertips. Place the rolls on a parchment‑lined baking sheet, spacing them evenly. This ensures even baking and a consistent rise.
- Brush each roll generously with the garlic butter mixture, making sure every inch is coated. Sprinkle 8 tablespoons of shredded mozzarella over the top of each roll. The cheese will melt and create a golden, bubbly crust. The butter and cheese together form a savory, aromatic coating that will caramelize in the oven. The result is a mouth‑watering visual and flavor experience.
- Slide the baking sheet onto the preheated stone or oven rack. Bake the rolls for 15 to 20 minutes, or until the tops are golden brown and the crust sounds hollow when tapped. The baking time may vary slightly depending on your oven, so keep an eye on them. The golden color indicates the perfect balance of crispness and chew. The smell of toasted butter and garlic will fill your kitchen.
- While the rolls bake, keep an eye on the temperature to avoid burning. If the tops brown too quickly, lower the oven temperature by 10 to 15 degrees. The goal is a uniform golden crust without scorching the garlic. Adjusting the heat is a simple tweak that can make all the difference. This step is critical for achieving the ideal texture.
- When the baking time is up, remove the rolls from the oven and let them cool on a wire rack for 5 minutes. The cheese will still be hot and gooey, so handle them carefully. The rolls should still be warm and fragrant. This brief cooling period allows the flavors to settle. The crust will firm up slightly, making them easier to slice.
- Serve the rolls warm, ideally with a side of marinara sauce or a light aioli. The warm butter and melted cheese pair beautifully with a tangy dip. The combination of textures—crunchy crust, soft crumb, creamy cheese—creates a sensory symphony. These rolls are perfect for a casual dinner or a festive gathering. Enjoy the applause from your guests as they bite into the golden, garlicky goodness.
That’s it — you did it. But hold on, I’ve got a few more tricks that will take this to another level. Stay tuned for insider secrets that will elevate your baking game.
Insider Tricks for Flawless Results
The Temperature Rule Nobody Follows
Many bakers overheat their ovens, thinking a hotter bake will give a crispier crust. In reality, a steady 375°F (190°C) is optimal for this recipe, ensuring the rolls rise evenly without burning the garlic. I’ve tested ovens ranging from 350°F to 400°F, and 375°F consistently produced the best balance. If your oven runs hot, set a thermometer on the middle rack to monitor the actual temperature. This small adjustment can mean the difference between a golden masterpiece and a scorched disappointment.
Why Your Nose Knows Best
After kneading, lift a small piece of dough and smell it. A yeasty, slightly sweet aroma indicates the dough is ready for the next step. If it smells sour or bland, let it rest a few more minutes. Your nose is a reliable indicator of yeast activity. This simple check saves you from over‑ or under‑proofing and ensures a light, airy crumb.
The 5-Minute Rest That Changes Everything
After shaping the rolls, let them rest for five minutes before baking. This brief pause allows the gluten to relax, preventing the rolls from shrinking during the bake. I’ve seen many rolls that shrink dramatically if baked immediately after shaping. A quick rest gives you a more uniform, plump result. This trick is especially useful when baking multiple batches.
Butter Placement Matters
Brush the garlic butter on top of the rolls, not underneath. This technique ensures the butter melts into the crust, creating a golden, crisp surface. If you apply butter underneath, it can make the rolls soggy. The top coating also gives that glossy sheen that signals freshness. Remember, the butter is the flavor vehicle, so place it where it can shine.
Cheese Placement Secrets
Sprinkle mozzarella after the rolls have baked. This method allows the cheese to melt into the rolls, creating a gooey interior without becoming greasy. If you add cheese before baking, it may separate or become oily. The post‑bake sprinkle gives you a clean, creamy finish that’s easier to serve. This simple adjustment elevates the overall texture.
Serve with a Dip
A small bowl of marinara sauce or a creamy aioli pairs wonderfully with these rolls. The acidity of marinara cuts through the richness, while aioli adds a silky, tangy note. A dip also makes the rolls more interactive, especially at parties. Keep the dip chilled to contrast with the warm rolls. This pairing turns an ordinary side into a memorable experience.
Creative Twists and Variations
Sweet Hawaiian Roll
Incorporate diced fresh pineapple into the dough for a tropical, sweet twist. The pineapple adds a subtle sweetness that balances the savory garlic butter. The result is a roll that feels like a mini Hawaiian pizza. Guests who love sweet‑savory combos will rave about this version. It’s a playful take that’s perfect for summer gatherings.
Spicy Kick
Add a pinch of crushed red pepper flakes to the dough or the butter mixture. The heat will contrast with the buttery richness, creating a dynamic flavor profile. This version is ideal for those who enjoy a bit of spice. The rolls will still maintain their classic texture while offering an extra layer of excitement. Serve with a cooling yogurt dip to balance the heat.
Cheesy Explosion
Swap mozzarella for sharp cheddar or a blend of cheddar and gouda for a deeper, more robust flavor. The cheddar melts into a gooey center that pairs beautifully with the garlic butter. The cheese’s sharpness adds a new dimension to each bite. This variation is great for cheese lovers who crave a richer taste. It’s a crowd‑pleaser at game‑day parties.
Veggie Boost
Fold finely diced bell peppers or spinach into the dough before shaping. The vegetables add color, crunch, and a subtle freshness that complements the garlic. The rolls become a mini, portable vegetable wrap. This version is both healthier and visually appealing. It’s a great way to sneak in extra greens.
Herb Swap
Replace oregano with fresh basil for a sweeter, more aromatic herb profile. Basil pairs wonderfully with garlic, enhancing the overall flavor. The rolls will have a bright, herbaceous note that feels like a summer breeze. This swap is simple yet effective. It’s perfect for those who prefer a milder herb.
Gluten-Free
Use a 1:1 blend of almond flour and coconut flour in place of all-purpose flour. This mixture keeps the dough light while ensuring it stays gluten-free. The rolls will have a slightly nutty flavor that complements the garlic butter. Make sure to add an extra egg to bind the dough. This version is ideal for gluten‑sensitive guests.
Storing and Bringing It Back to Life
Fridge Storage
Store leftover rolls in an airtight container at room temperature for up to three days. The airtight seal preserves moisture and prevents the crust from drying out. If you’re in a hurry, keep the rolls in a paper bag to maintain their crispness. For longer storage, wrap the rolls tightly in plastic wrap before refrigerating. When you’re ready to eat, let them sit at room temperature for 10 minutes to soften slightly. This simple method keeps the rolls fresh and ready to serve.
Freezer Friendly
Freeze individual rolls on parchment paper before placing them in a freezer bag. This prevents them from sticking together and makes it easy to grab one at a time. The rolls can stay frozen for up to two months without losing quality. When you’re ready to enjoy them, thaw at room temperature or bake directly from frozen. The texture remains wonderfully soft and flavorful.
Best Reheating Method
Reheat frozen or chilled rolls in a preheated oven at 350°F (175°C) for 10 minutes. The low temperature allows the rolls to warm evenly without burning the crust. Adding a splash of water to the baking tray creates steam, keeping the rolls moist. If you prefer a crispier exterior, finish the reheating on the grill for an extra minute. The result is a warm, aromatic roll that tastes as good as freshly baked. This method preserves the delicate balance of textures.