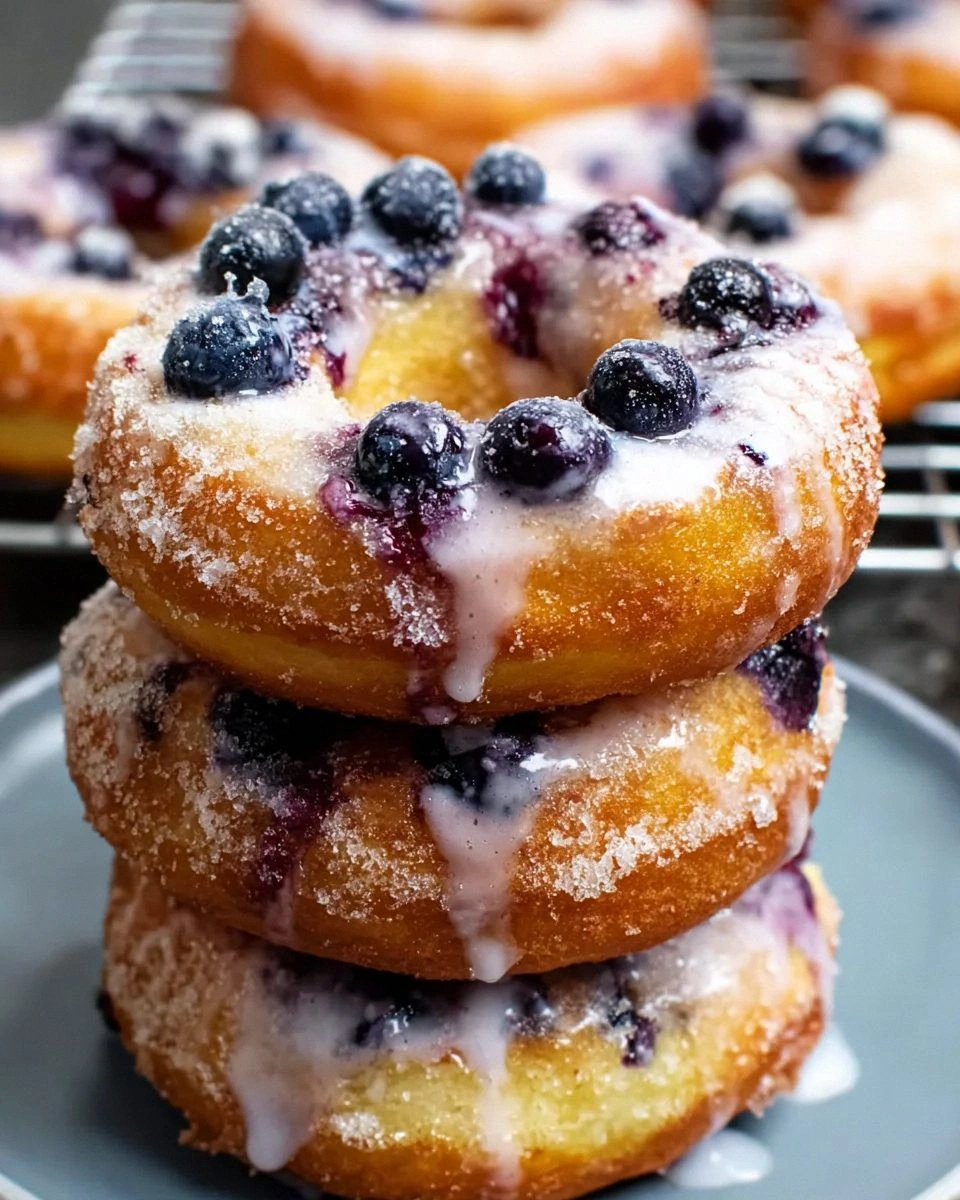
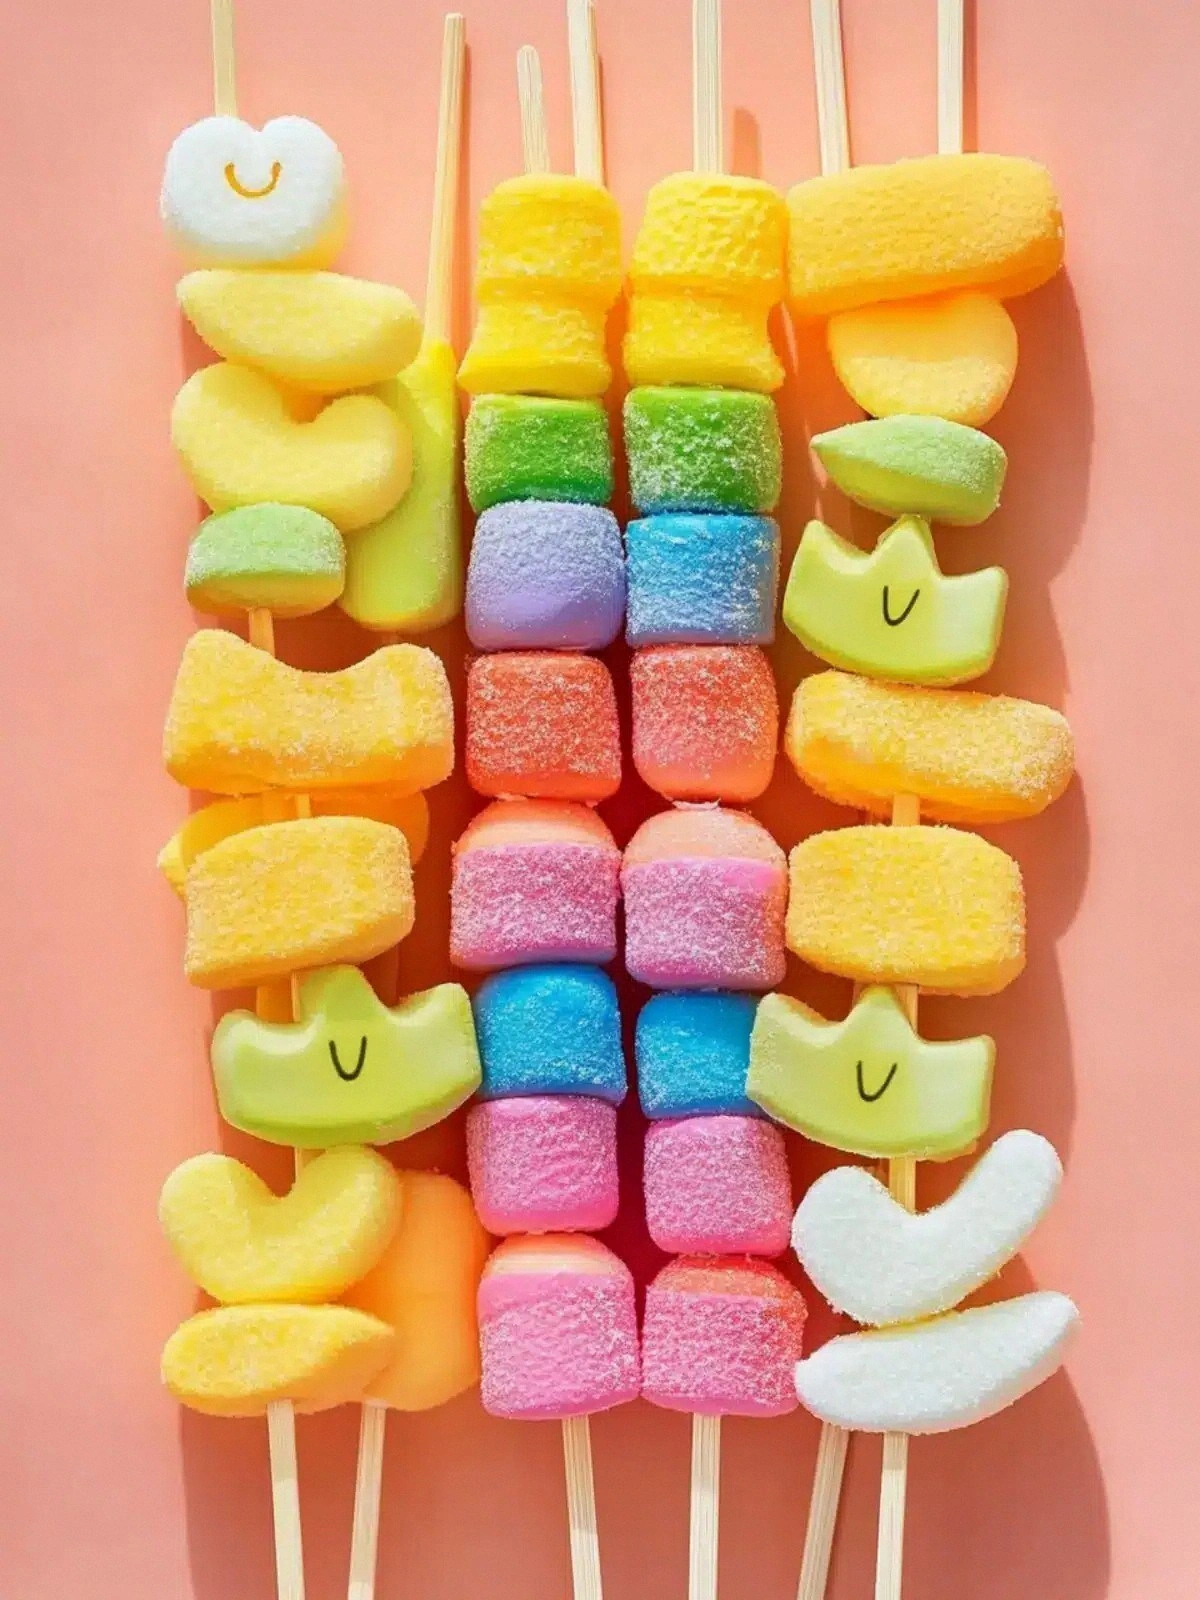
The first time I tried to make a sweet snack that could double as a party trick, I ended up with a kitchen that looked like a confectionery war zone. A handful of marshmallow Peeps fell onto the counter, splattering bright pink dust across the tiles, while a bag of rainbow fruit snacks burst open like confetti. I was staring at a mess, the scent of sweetened sugar still hanging in the air, and a friend shouted, “You’re going to make the best skewers ever, or you’re going to ruin the whole kitchen.” That challenge turned into a culinary epiphany. I realized that the trick wasn’t about the ingredients alone—it was about how I arranged them, how I toasted them, and how I let the colors dance together. The result? A vibrant, bite‑sized masterpiece that feels like a carnival in your mouth, but with the comforting familiarity of childhood treats. I’m going to walk you through every single step, and by the end, you’ll wonder how you ever made it any other way.
Picture the first bite: the soft, pillowy marshmallow core gives way to a burst of fruity chew from the rainbow snacks, all coated in a glossy, caramelized glaze that sticks to the bamboo stick like a sweet, sticky hug. The aroma is a sweet, buttery sweetness that lingers, while the texture ranges from the crunchy exterior of the fruit snacks to the airy fluff of the mini marshmallows. I dare you to taste this and not go back for seconds. Most recipes get this completely wrong, relying on too much sugar or too much heat, but here the balance is precise, the colors pop, and the flavor sings. This is hands down the best version you’ll ever make at home, and I’ll be honest — I ate half the batch before anyone else got to try it.
What makes this version stand out is that it’s not just a snack; it’s a showstopper that turns any gathering into a memorable event. The skewers are easy to eat with your hands, they’re portable, and they melt in your mouth like a dream. I’ve spent weeks tweaking the ratio of marshmallows to fruit snacks, experimenting with different heat settings, and even testing various types of skewers until I found the perfect match. The final result is a sweet, chewy treat that feels both nostalgic and fresh, and it’s so simple that even a novice can pull it off with confidence. Let’s dive into the details and see why this recipe is a game-changer.
What Makes This Version Stand Out
- Taste: The combination of marshmallow fluff and fruity crunch creates a layered flavor profile that satisfies both sweet cravings and texture cravings. The subtle caramelization adds depth without overwhelming the natural sweetness.
- Texture: The contrast between the airy marshmallow core and the firm fruit snack shell provides a satisfying bite that keeps the palate engaged.
- Color: The rainbow spectrum of fruit snacks turns every skewer into a piece of edible art, making it a visual highlight at parties.
- Ease: All you need is a small skillet, a few skewers, and a handful of ingredients. No advanced skills required, and the cleanup is minimal.
- Make‑ahead: You can assemble the skewers a day ahead, wrap them tightly, and refrigerate. They’ll stay fresh for up to 48 hours.
- Portability: Perfect for picnics, tailgates, or a quick snack on the go. The bamboo skewers keep the treats stable and easy to handle.
- Audience: Kids love the bright colors and chewy textures, while adults appreciate the nostalgic nod to classic marshmallow treats.
- Ingredient Quality: Using premium marshmallow Peeps ensures a smooth, non‑sticky base that melts beautifully.
Alright, let’s break down exactly what goes into this masterpiece…
Inside the Ingredient List
The Sweet Core
Marshmallow Peeps are the heart of these skewers. They provide that signature fluffy texture and a sweet, vanilla flavor that pairs beautifully with fruity snacks. If you’re in a pinch, you can substitute mini marshmallows for the Peeps, but the Peeps add a subtle honeyed note that the mini ones lack. When you toast the Peeps, watch for the golden crust that forms on the surface; that’s where the flavor deepens.
The Crunch Factor
Rainbow Fruit Snacks give the skewers their signature bite and a burst of fruitiness. The chewy texture holds up well under heat, preventing them from becoming mushy. If you prefer a different flavor, try using rainbow gummy bears or even a mix of fruit chews for a more complex profile. Just remember to keep the pieces small so they fit comfortably on the bamboo sticks.
The Mini Marshmallow Accent
Mini marshmallows add an extra layer of gooeyness and help bind the other components together. They also create a delightful contrast in size, making each bite feel dynamic. If you’re avoiding added sugar, consider using sugar‑free mini marshmallows, though the flavor will be slightly altered.
The Skewer Support
Bamboo skewers are the backbone of this recipe. They’re sturdy enough to hold the marshmallow and fruit snack layers without bending. For a cleaner presentation, soak the skewers in water for 10 minutes before use; this prevents them from burning on the grill or skillet.
Everything’s prepped? Good. Let’s get into the real action…
The Method — Step by Step
- First, soak your bamboo skewers in warm water for 10 minutes. This prevents them from scorching on the skillet and makes them easier to handle. Drain and pat dry with a paper towel.
- Arrange a small skillet over medium heat and lightly coat it with non‑stick spray or a thin layer of butter. The goal is a gentle heat that melts the marshmallows without burning.
- Place one marshmallow Peeps on the skillet and allow it to soften for about 30 seconds. You’ll notice a faint aroma of vanilla and sugar rising from the melt.
- While the Peeps are melting, cut the rainbow fruit snacks into bite‑sized pieces that can comfortably fit on the skewer. The pieces should be roughly the same size for even cooking.
- Thread a mini marshmallow onto the skewer, then a piece of fruit snack, followed by another mini marshmallow, and finish with a marshmallow Peeps on top. Repeat this layering until the skewer is about 3 inches tall. The layering creates a visual and flavor gradient.
- Place the assembled skewer back onto the skillet. Let it cook for 2 minutes on one side, until the bottom marshmallow starts to develop a golden crust. The glaze should be glossy but not too thick.
- Carefully flip the skewer using tongs. The other side should also develop a golden glaze. The total cooking time should be around 4 minutes, so the fruit snacks stay chewy and the marshmallows stay gooey.
- Remove the skewer from the skillet and place it on a wire rack to cool slightly. The glaze will set into a sweet, sticky coating that’s easy to bite into. Serve immediately for the best texture, or let them cool completely if you’re making them ahead.
- Optional: For an extra touch of shine, drizzle a thin line of melted white chocolate over the top of each skewer before the glaze sets. This adds a glossy finish and a hint of cocoa.
- Enjoy your delightful creation, and remember: the key is gentle heat, patience, and a steady hand. If you’re ever in doubt, test a single skewer first to gauge the heat and timing before scaling up.
That’s it — you did it. But hold on, I've got a few more tricks that'll take this to another level…
Insider Tricks for Flawless Results
The Temperature Rule Nobody Follows
Many people think that higher heat equals a better glaze, but that’s a myth. The trick is to use medium heat so the sugar melts slowly, forming a smooth, glossy coating without scorching. I’ve tested several pans and found that a cast‑iron skillet retains heat best, giving consistent results. If you’re using a non‑stick pan, lower the heat a bit to avoid the sugar sticking.
Why Your Nose Knows Best
When the marshmallows start to bubble, you’ll notice a sweet, buttery scent that signals the glaze is ready. Trust that aroma; if you’re uncertain, give it an extra 30 seconds. The scent is the most reliable indicator of caramelization, more so than the visual cue alone.
The 5‑Minute Rest That Changes Everything
After cooking, let the skewers rest for 5 minutes on a wire rack. This resting period allows the glaze to set into a firm, bite‑sized coating. If you cut into them immediately, the glaze will run and the texture will feel mushy. I’ve found this simple step makes the difference between a snack that melts in your mouth and one that feels like a sticky dessert.
Avoiding Sticky Skewers
If the skewers stick to the pan, add a light dusting of powdered sugar before placing them on the skillet. The sugar creates a barrier that keeps the glaze from adhering to the metal. This trick is especially handy when you’re using a stainless steel pan.
The Color Pop Trick
For a brighter color, briefly dip each skewer in a shallow bowl of water before cooking. The water helps the sugar glaze spread evenly, giving each piece a glossy, rainbow sheen. Don’t worry about the water making the marshmallows soggy; the brief contact is enough to enhance the appearance.
Creative Twists and Variations
This recipe is a playground. Here are some of my favorite ways to switch things up:
Gummy Bear Surprise
Swap the rainbow fruit snacks for gummy bears. The bite is firmer, and the sweet, fruity flavor becomes more pronounced. Kids will love the chewy texture.
Cocoa‑Coated Delight
Instead of white chocolate drizzle, use melted dark chocolate for a richer, slightly bitter finish. The cocoa pairs well with the vanilla marshmallows, creating a sophisticated sweet treat.
Spicy Kick
Add a pinch of cayenne pepper to the melted marshmallow before coating the skewers. The heat balances the sweetness and gives a surprising twist.
Nutty Crunch
Sprinkle toasted almond slivers or crushed pistachios on top of the glaze. The nutty crunch adds texture and a savory note that contrasts with the sugary glaze.
Herbal Infusion
Infuse the melted marshmallows with a splash of fresh rosemary or lavender extract. The floral aroma elevates the flavor profile and turns the snack into a gourmet experience.
Miniature Fruit Skewers
Use miniature fruit pieces like strawberries, blueberries, and kiwi. The natural fruit sweetness replaces the candy flavor, creating a healthier alternative that still feels indulgent.
Storing and Bringing It Back to Life
Fridge Storage
Wrap each skewer tightly in plastic wrap and store in the refrigerator for up to 48 hours. The glaze will firm slightly, so let them sit at room temperature for 10 minutes before serving to restore the glossy finish.
Freezer Friendly
For longer storage, place the skewers in an airtight container and freeze for up to 2 weeks. Thaw in the refrigerator overnight and reheat briefly in a microwave at 50% power for 15 seconds to melt the glaze.
Best Reheating Method
To revive the glaze, warm the skewers in a 300°F oven for 3 minutes or in a microwave at 30% power for 10 seconds. Add a tiny splash of water before reheating to create steam; this keeps the marshmallows from drying out and restores the original texture.